Xiaoxin Bathroom Headline
The leaks take up square footage, but they are vital! Whether it’s a purchase or an installation, if something goes wrong, it’s sure to be a big problem. The unpleasant odors and creepy crawlies that are emitted at any time can cause great inconvenience to daily life. Therefore, how to make the floor drain work smoothly is the key. Let’s analyze it step by step!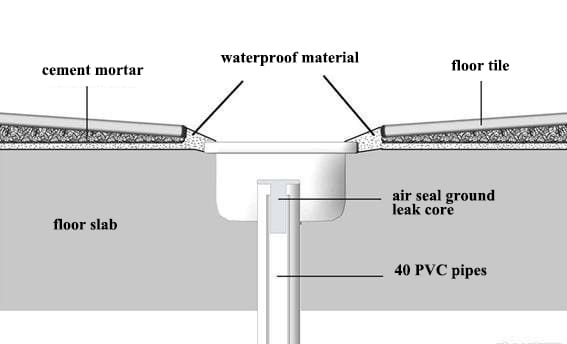
▲ Buying quality floor drains and also installing them correctly are both crucial! If improperly constructed, it can cause water to pool on the floor or even recurring seepage. Therefore, first check the drainage pipe, which is usually wrapped and protected before installation.

▲ The diagram above shows three common types of floor drainage structures. After removing the bandage protection, look inside the pipe to see if it is blocked with gritty soil. If the pipe opening is stained, it needs to be cleaned with a dry cloth first. If the drain pipe is too close to the ground, cut the drain pipe moderately short so that the back panel of the floor drain installation is slightly below the ground.
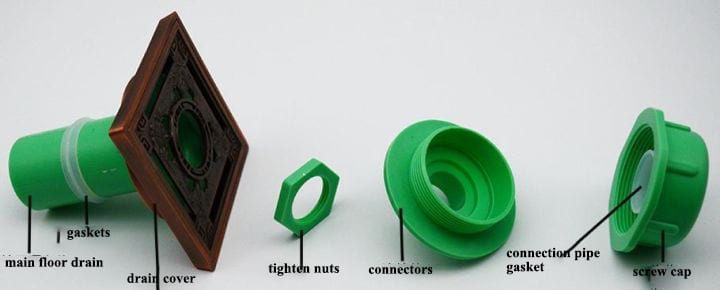
▲ It is important to note that the middle part of the drain cover is special, in order to fit the washing machine, there is a round hole in the middle of the cover, so that the drain pipe can be inserted directly into the washing machine. The drain is usually installed against the wall for the drainage of the washing machine. A floor drain is usually located in the middle of the wall to facilitate the drainage of water.
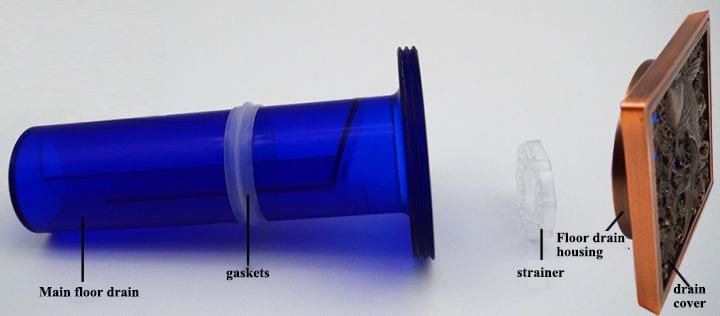
▲ The installation of floor drains is done at the same time as the tiling of the floor. After the floor is waterproofed, you can lay tiles to install the drain. Before installing the drain, choose the appropriate size of the drain, smear the drain with cement, align it with the water outlet, and then cover the drain panel.
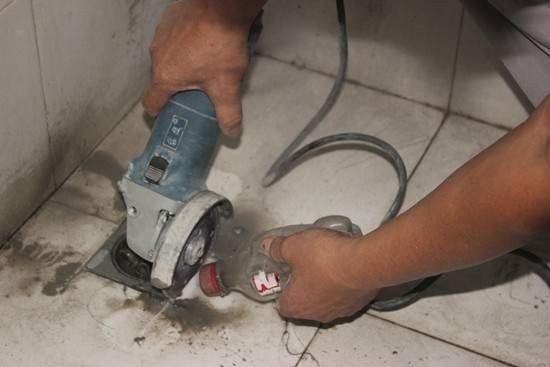
▲ When installing the floor drain in the bathroom, you need to pay special attention to the slope of the water. Place the floor drain on the installation pipe, then measure to determine the size of the tile cut, and cut the tile, fix the floor drain and lay the perimeter cut tile to create the downward slope of the water.
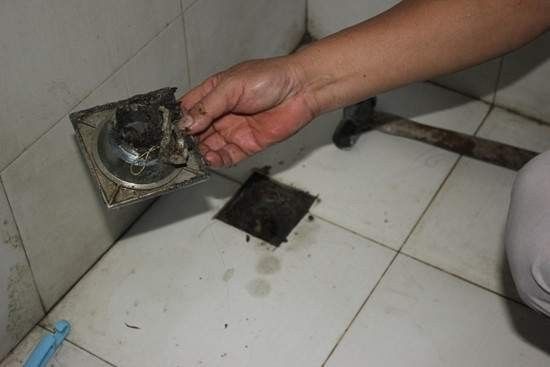
▲ Once the floor drain is installed and fixed, be sure to seal the gaps on all sides of the drain with glassine or adhesive to ensure that odors from the drain cannot escape through the gaps.
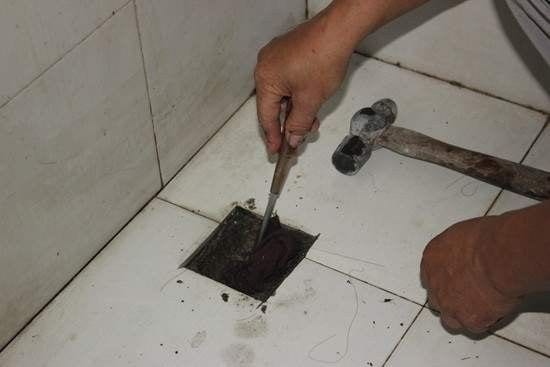
▲ In order to make sure that the sealing core of the drain can be easily removed and installed, make sure that the cement mortar does not cover the sealing core or the gasket, which may prevent the sealing core from being removed or the gasket from being opened.
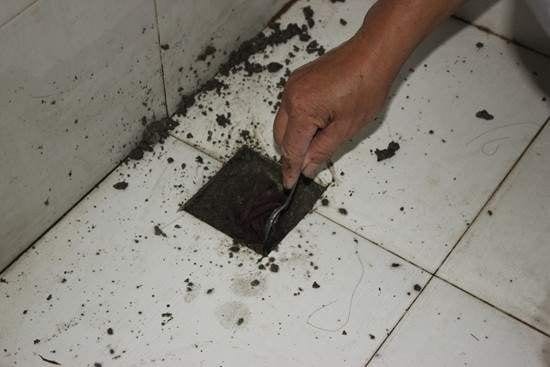
▲ The floor tiles laid in the kitchen and bathroom should be inclined to the floor drain along the horizontal surface, and the acceptance of the floor drain installation is also related to the acceptance of the floor tile laying. In addition to good drainage performance of the floor drain itself, the entire kitchen floor tile area requires flat, smooth flow of water to the floor drain discharge, no water.
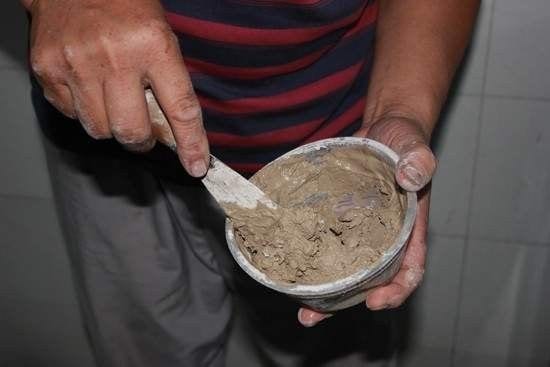
▲ The floor drain is an important drainage outlet in the bathroom, and the sewage is often easy to hide hair and solid stains, and if it cannot pass through the floor drain, it will often cause blockage. In use, care should be taken to prevent the water seal from drying up, and water must be filled regularly. If not used for a long time, it is better to seal the drain to reduce the evaporation of water and play a sealing role.
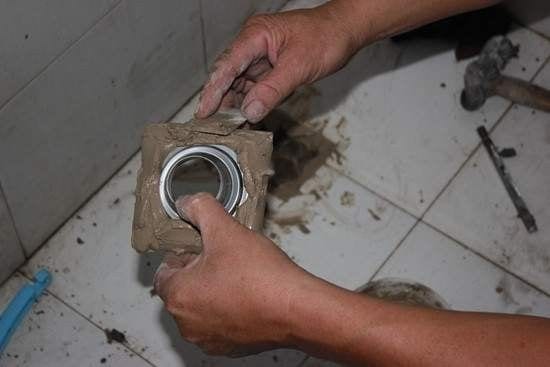
▲ Self-sealing floor drains don’t need to be watertight; they are often sealed by mechanical devices such as springs and magnets. The spring is less flexible with time, while the magnet is less magnetic due to adsorption of iron in water. Therefore, it is necessary to check the performance of self-sealing floor drains regularly and replace them in time if problems occur.
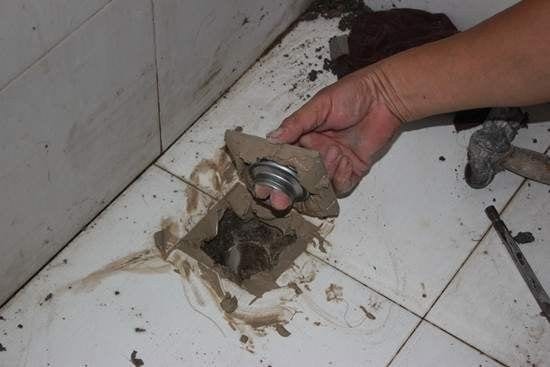
▲ It is also necessary to clean the drain regularly to prevent the debris from entering the drain. Then take off the cover plate and use a brush to wash all parts of the drain, which can be supplemented with some detergent. Then disinfect and deodorize the drain, and reinstall it.
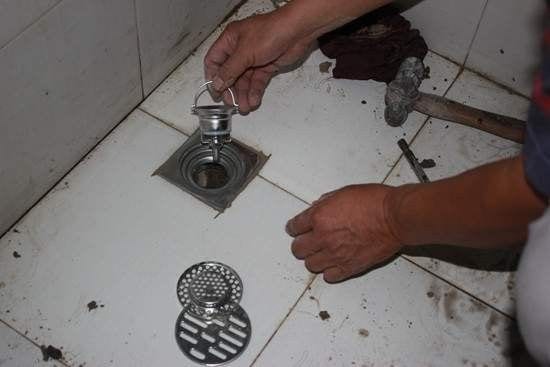
▲ It is important not to open the drain as often as you can, so don’t put food residues down the drain. In the event of water seeping through the drain, there is a solution! Because the seal is not tight at the time of installation, water seepage may occur in the later use process.
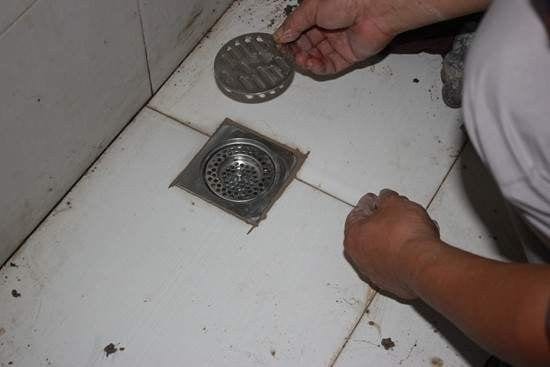
▲ If the problem is serious, you can open the floor tiles around the drain, dig out the cement 3cm deep, and then seal it with a plugging spirit, and test it after 1 to 2 hours, if there is no water seepage, it means the problem is solved.
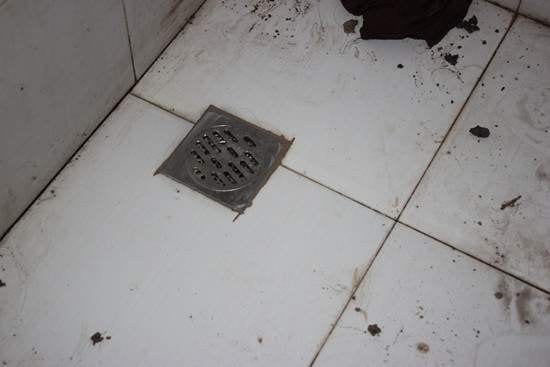
▲ In old houses, most of the old floor drains fail to seal, so it is very troublesome to replace them. It’s not necessary to take apart the tiles to replace the whole floor drain.

▲ The key to getting a good floor drain is to make sure the tiles next to the floor drain are right. If the tiles are not correctly placed, the problem will also occur. If you put the drain between two tiles, you can install the drain where the two tiles meet, and you don’t have any tiles around the drain.
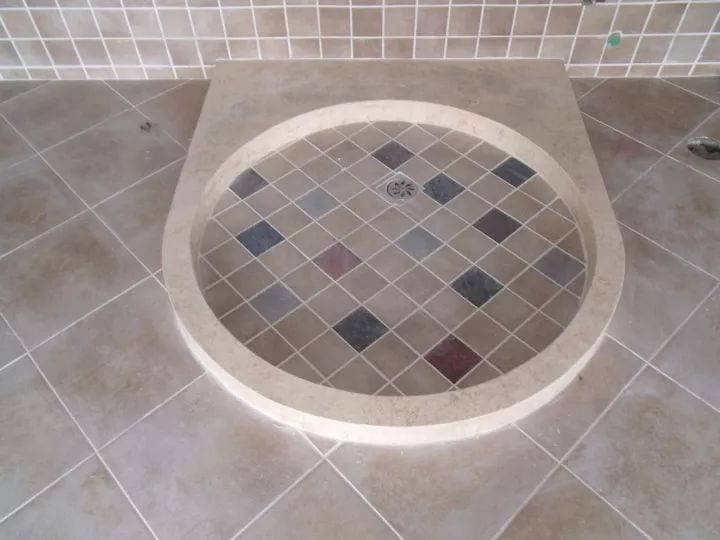
▲ There will be no height difference between the tiles and the drain, and water will flow downwards but not into the drain. If a floor drain is installed directly in the middle of a tile and a suitable location is cut out in the middle of the tile, then the tile is on the same level and there is no way to form a groove to bring water into the drain.
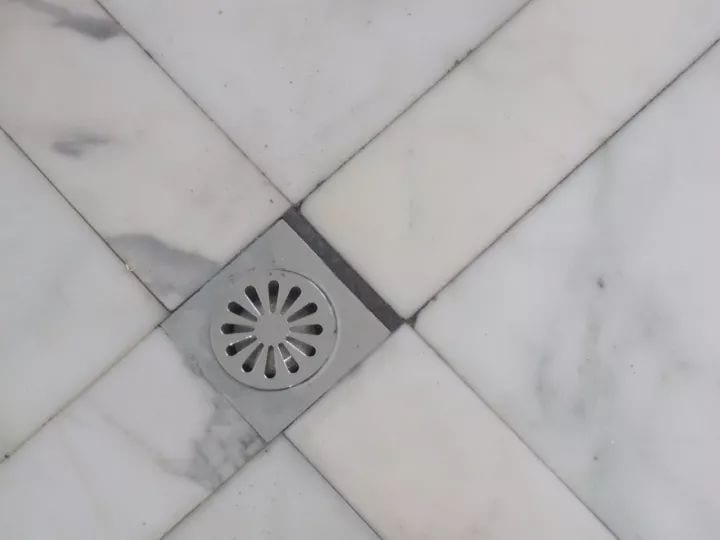
▲ It’s a good idea to avoid the above-mentioned problems by laying tiles in a standard way. The first is a four-sided cut, which seems like a complicated solution but is the most common and applicable one. The first thing you need to do is to take a look at the tiles.
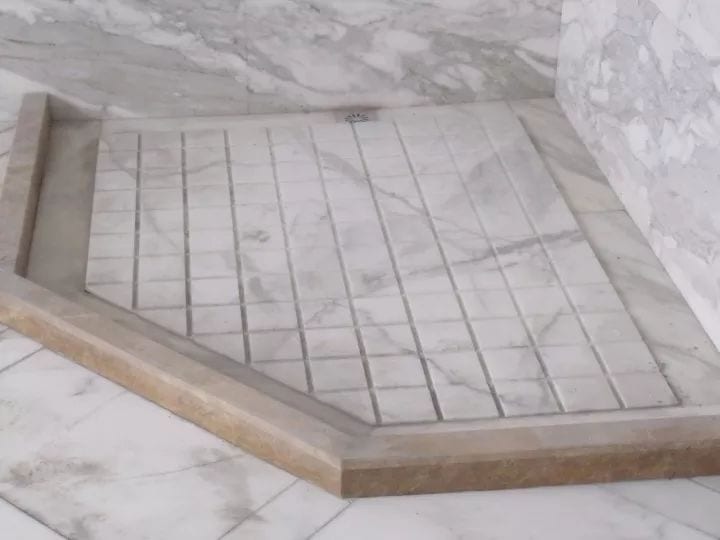
▲The effect of this kind of paving method is not simple and beautiful, but very practical. The floor drain is set in the center of the cross line formed by the four adjacent floor tiles, with the corners aligned with the floor tile edges, extending in all directions. This method is ideal for square floor drains, better maintaining the integrity of the floor tiles, relatively beautiful and natural slope.
Conclusion:
There are three types of floor drains on the market: copper, stainless steel and PVC, among which copper is more stable and better quality, but more expensive. Stainless steel floor drains are more commonly used and more economical than copper, while PVC floor drains are cheaper but more prone to aging and deformation. It is important to choose the right product for your needs.
Whether it’s a purchase or an installation, if something goes wrong, it’s sure to be a big problem. The unpleasant odors and creepy crawlies that are emitted at any time can cause great inconvenience to daily life. Therefore, how to make the floor drain work smoothly is the key. Let’s analyze it step by step!
more:faucet over stove
 WOWOW Faucets


您好!Please sign in