How to Remove Kitchen or Bathroom Faucet Handle without Screws
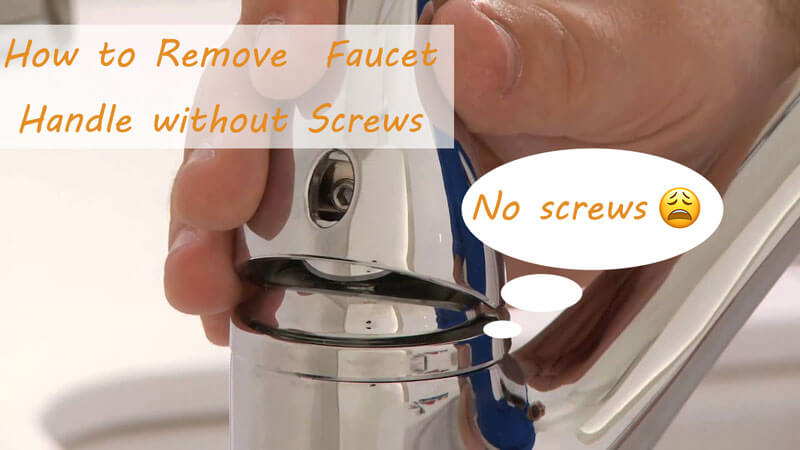
To fix some issues on faucet such as there’s something wrong with cartridge or filter, it is inevitable that you need to remove the faucet handle. However, it seem be a huge challenge to remove a faucet handle that has no screws. In this post, we will walk you through the tools and the guide on how to remove a kitchen or bathroom faucet handle without screws.
Required tools to remove faucet handle without screws
Before starting the steps to remove the faucet handle, you should make sure that you have all the needed tools to easily remove the faucet handle by yourself. The required tools include:
- Flat head screwdriver
- Allen wrench
- Faucet handle kit
- A pair of pliers
- White vinegar
- Cloth
Detailed steps toremove faucet handle without screws
Step 1: Turn off the water
No matter what type of faucet you use, the first step to remove the handle is to close the water supply line valve to the faucet. You can do this by closing the two stop valves under the sink. Alternatively, you can turn off the main water supply at home.
You can close the stop valves by turning the handle clockwise until they can no longer turn. After closing the stop valve, you need to turn the faucet handle to see if there is water flowing out.
Step 2: Remove the cover from the top of the faucet
After turning off the water supply to the faucet, the next step is to remove the cover. It is worth noting that some kitchen faucets do not have covers. If you have a hat, this step is essential.
You can remove the cover by prying it open with a flat screwdriver. The cover is usually located at the top of the faucet handle. However, some faucets have covers on the side. After removing the cover, you will find an invisible fixing screw below.
Step 3: Remove hidden set crew
Before removing the fixing screw, cover the drain pipe to avoid losing the faucet screw when it falls into the sink. If you lose the screw, you will not be able to tighten the kitchen faucet handle. Use a wrench or Allen key to remove the set screw.
Step 4: Remove the faucet handle
After removing the screws, you need to gently pull down the handle. Then you need a faucet handle puller or a pair of pliers to complete this task.
Before removing the handle, please wrap the bottom with an old cloth to avoid scratching the faucet, if you don’t want the faucet to lose its smooth appearance and make your faucet look old.
Step 5: Wash off mineral deposits
Use distilled white vinegar to remove any mineral deposits that may accumulate on the faucet, which will make the faucet inefficient. Then check your faucet for any problems. If the faucet filter element is broken, you need to replace it. That’s it.
Bottom Line
If you have never disassembled or repaired the faucet handle before, this task may seem complicated. However, if you follow the steps above carefully, you can complete it without further ado. Don’t hestate to remove the bathroom or kitchen faucet handle by yourself.
 WOWOW Faucets
您好!Please sign in