How to Fix Outdoor Water Spigot Won’t Turn Off?

Outdoor faucets simplify all kinds of outdoor chores, such as watering your garden or your car. You don’t need to carry a bucket from the inside or try to connect a hose to an indoor faucet, just an outdoor faucet can make them simple.
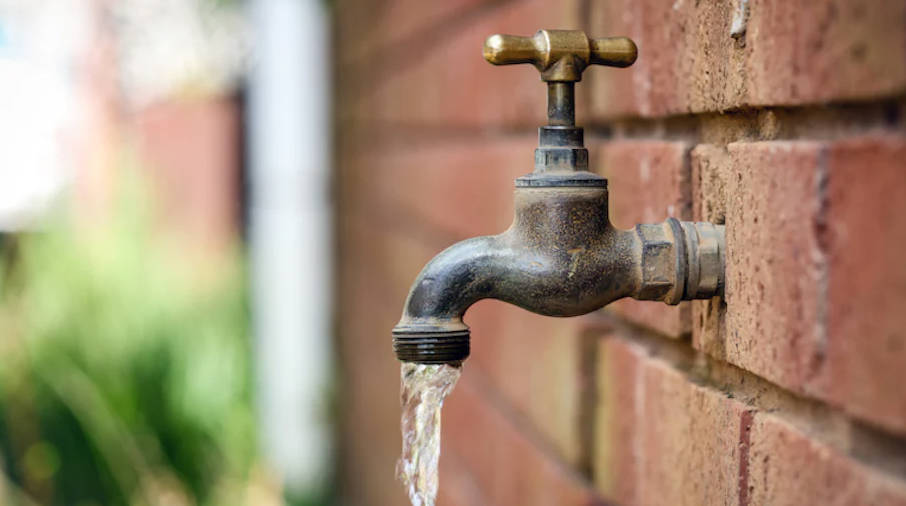
However, as convenient as outdoor faucets are, there are bound to be problems at some point. For example, they may not even be closed all the time, leaving a steady stream of water flowing from the outdoor water spigot. So how to fix outdoor water spigot won’t turn off? In this post, we will show you the detailed steps, please read on!
Why does my faucet keep running after I turn it off?
When your outdoor faucet doesn’t stop running, even if you turn it off, there are some potential culprits. Most of the time, the problem is a worn part, usually a worn gasket or anti-siphon valve. Either way, you might end up with an outdoor water spigott that won’t turn off. This is problematic for several reasons.
How to fix outdoor water spigot won’t turn off
Fortunately, it’s not difficult to fix an outdoor water spigot won’t turn off. It shouldn’t take too long, just some tools. Here is what you need:
- Adjustable wrench
- Penetrating oil (as needed)
- Clamp
- Flat-blade screwdriver
- Replacement part
- Plumber’s Grease (as needed)
Turn off the water supply
Before you begin, turn off the water supply to the outdoor faucet. So find the shut-off valve and turn it clockwise to close it. Keep turning until it stops turning, but don’t force it. If you’re not sure where the valve is, check the ceiling in the basement, garage, near the water meter, and the inner wall cabinet closest to the associated outdoor faucet.
After turning off the water supply to the faucet, drain the water from the faucet. Simply turn on the faucet fully and let the excess water drain.
shut off valve
Tighten the faucet-pipe connectionIn some cases, the problem is as simple as a loose faucet plumbing connection. So, before you start disassembling the faucet, check the connections. If water is leaking from behind a faucet connected to a water main, this could be the problem.
If the faucet is screwed to the pipe, all you need to do is tighten it. However, if it’s soldered, you’ll need to remove the faucet and reconnect it. Here is what you need:
- clamp
- propane torch
- flux
- Lead-free solder
Turn on the faucet first, then heat the fitting with a propane torch while holding the faucet with pliers.
Maintain constant outward pressure on the faucet. Once the joint gets hot enough, the solder will melt, allowing the faucet to slip off. Check the pipes for pinholes or damage, then apply flux to the inside of the pipes and faucet ports.
Connect the two, then heat the joint until the flux spews out and smokes. Next, remove the heat and touch the end of a ring of lead-free solder to the connector. Move it around the pipe so that it melts and attaches to the fitting by capillary action. After cooling, the joint should be waterproof and ready to use.
If the leak is from the faucet outlet itself, continue to the next step.
Remove the packing nut
After turning off the water supply and draining the lines, the next step is to remove the packing nut. Place an adjustable wrench around the packing nut. Use another adjustable wrench to clamp the faucet connection leading to your home. This helps prevent the faucet from twisting or moving as you work.
Turn the wrench around the packing nut counterclockwise to loosen the valve assembly. Once the nut is loose enough, remove it by hand. Turn the faucet handle fastener counterclockwise, then swing the handle and pull it straight up from the assembly.
Completely unscrew the packing nut and slide it up the stem to remove it completely.
If the packing nut or valve assembly is stiff or corroded, use penetrating oil to loosen it. Apply penetrating oil to stubborn areas and wait a few minutes. Once the oil is in, try removing the part with a wrench.
Remove the valve stem
Check packing nut. If everything looks fine, the problem may lie elsewhere. So you need to remove the valve stem. Use pliers to hold the pipe in place, then use a flathead screwdriver to remove the gasket from the stem.Check O-rings and gaskets for damage or wear.
Check the anti-siphon valve
In some cases, the anti-siphon valve can be the problem. This valve prevents water from being drawn out of outdoor water spigot. Or more simply, it protects your home’s drinking water by preventing the backflow of water through the hose into the water line.
The anti-siphon valve is located in the faucet outlet. If everything else in the assembly looks fine, that’s probably the problem. So unscrew the valve from the faucet outlet and check for damage or wear. If damaged, replace valve with correct part.
Replace damaged parts
As you complete these steps, be aware of damaged or worn parts. Replace them with the correct replacement parts. You may need to replace packing nuts, washers, o-rings, etc. Before installing a replacement o-ring or gasket, be sure to apply a generous amount of plumber’s grease to the parts.
Reassemble the faucet
After replacing any broken, worn or corroded parts in the faucet, the final step is to reassemble and reconnect the faucet. Reinsert the valve assembly first. Use an adjustable wrench to tighten the assembly as far as possible.
Next, double check that the faucet is turned off. Turn the water back on where you left it off, then turn on the faucet and check your craft. Make sure the water flow is normal and the faucet is fully closed and there are no drips or leaks.
 WOWOW Faucets


您好!Please sign in