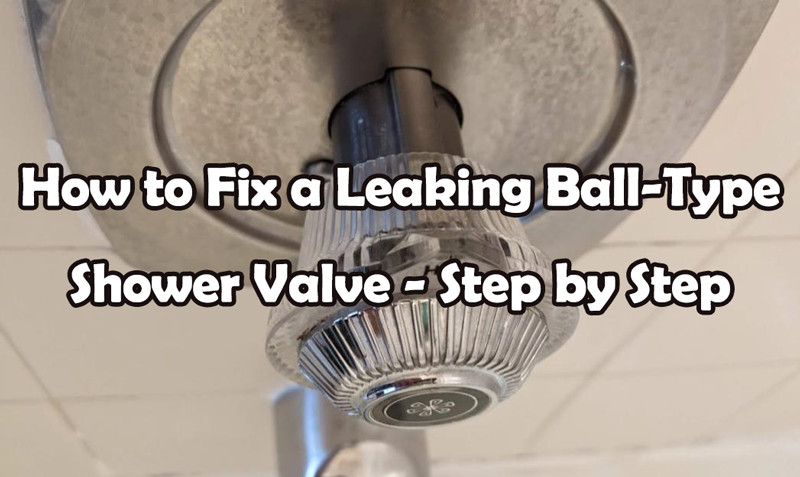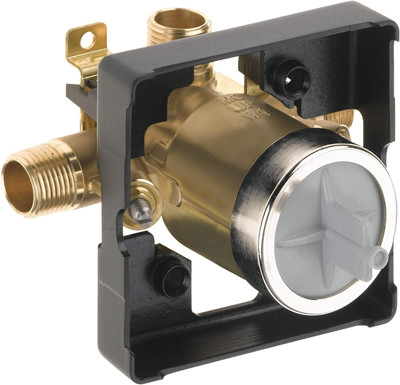
A leaky shower valve can be frustrating, wasting water and increasing utility bills. If you notice your shower dripping even when it’s off, or water escaping from the handle area, your ball-type valve likely needs repair. The good news is that you don’t have to replace the entire fixture—many leaks are caused by worn seals, springs, or O-rings that you can fix yourself with a bit of effort.
This guide will take you through the step-by-step process of how to fix a leaking ball-type shower valve, helping you restore its function without professional help.
Why is My Ball-Type Shower Valve Leaking?
Leaks in a ball-type valve can occur due to several issues:
- Worn-out O-rings or seats: These rubber components degrade over time, allowing water to escape.
- Corroded springs: Springs inside the valve weaken, preventing a proper seal.
- Loose or damaged ball assembly: If the ball is not seated correctly or is damaged, it won’t regulate water properly.
- Mineral buildup: Hard water deposits can interfere with the ball and seals, leading to leakage.
Tools and Materials Needed
Before getting started, gather the following:
- Replacement ball valve repair kit (including springs, seals, and O-rings)
- Allen wrench (hex key) or screwdriver
- Channel-lock pliers or an adjustable wrench
- Plumber’s grease
- Vinegar or descaling solution (for cleaning)
- Towel or rag
- Bucket (to catch water)
How to Fix a Leaking Ball-Type Shower Valve
Follow these steps carefully to repair your leaking shower valve:
Step 1: Turn Off the Water Supply
Before starting any plumbing repair, shut off the water supply to the shower. The shutoff valve may be located behind an access panel near the shower or in the basement. If you can’t find individual valves, turn off the main water supply to the house.
Step 2: Cover the Drain
Place a towel or rag over the drain to prevent any small parts—like screws or springs—from falling down the drain while you work.
Step 3: Remove the Handle
- Look for a small screw holding the shower handle in place. It may be hidden under a cap or on the underside of the handle.
- Use an Allen wrench or screwdriver to loosen the screw.
- Carefully pull off the handle and set it aside.
Step 4: Take Off the Cap and Collar
Some ball valves have a decorative cap and collar covering the internal components. Use pliers to gently unscrew these parts. Be careful not to scratch the finish—wrap the pliers with a rag if necessary.
Step 5: Remove the Ball Assembly and Cam
- Unscrew the cam cap, which holds the ball in place.
- Lift the ball assembly and cam from the valve body.
- Inspect the ball for wear or corrosion. If it’s damaged, replace it with a new one from the repair kit.
Step 6: Replace the Seats and Springs
- Inside the valve, you’ll find two small rubber seats and metal springs. These parts are often the source of leaks.
- Use a small screwdriver or pick tool to remove the old seats and springs.
- Insert the new springs and seats provided in the repair kit. Make sure the springs are correctly seated under the rubber pieces.
Step 7: Install New O-Rings
- Check the O-rings around the valve assembly for signs of wear or cracking.
- If the O-rings are damaged, replace them with new ones.
- Apply a thin layer of plumber’s grease to the new O-rings to ensure a watertight seal and smoother operation.
Step 8: Reassemble the Ball Valve
- Place the ball assembly back into the valve, ensuring it aligns properly with the water inlet holes.
- Install the cam and tighten the cam cap to secure the ball in place.
Step 9: Reattach the Handle and Cap
- Screw the decorative cap and collar back on (if applicable).
- Slide the handle onto the stem and tighten the screw to secure it.
Step 10: Turn On the Water and Test
- Slowly turn the water supply back on.
- Test the shower valve by turning it on and checking for leaks.
- If there are no leaks, you’re done! If the valve still leaks, disassemble it and check that the components were installed correctly.
Tips for Success
- Use plumber’s grease generously: It helps components fit smoothly and prevents leaks.
- Inspect for mineral buildup: If there’s a lot of calcium or lime buildup, soak the internal parts in vinegar or a descaling solution.
- Handle small parts carefully: Springs and seats are tiny and can easily be lost. Work over a towel-covered surface to avoid accidents.
- Keep a repair kit on hand: If you have an older valve, it’s a good idea to buy a repair kit before the parts become hard to find.
When to Call a Professional
If the leak persists after replacing the seals, springs, and ball, it could indicate more serious damage to the valve body or the plumbing connections behind the wall. In such cases, it’s best to call a licensed plumber to assess and repair the issue. Similarly, if you encounter corrosion or mineral buildup that you can’t remove, professional help may be necessary.
Conclusion
Fixing a leaking ball-type shower valve is a straightforward DIY project that can extend the life of your faucet and save you money on plumbing services. By replacing worn-out components like springs, seats, and O-rings, you’ll restore the valve’s functionality and prevent further leaks. With the right tools, a little patience, and this step-by-step guide, you can complete the repair and enjoy a leak-free shower.
 WOWOW Faucets


您好!Please sign in