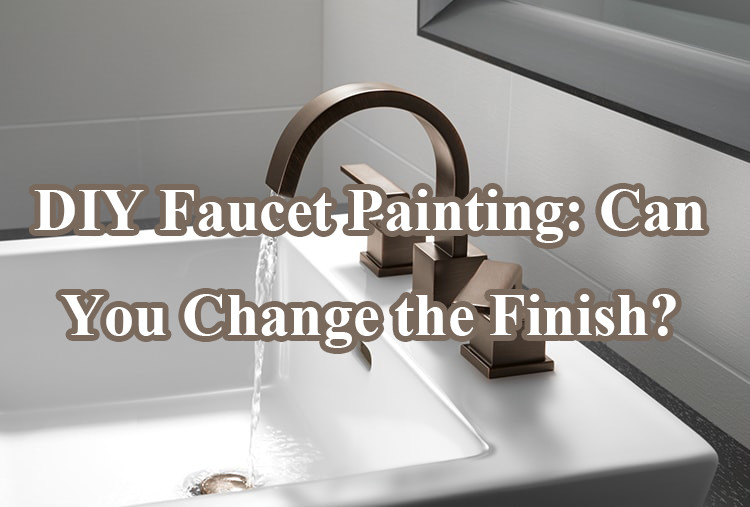
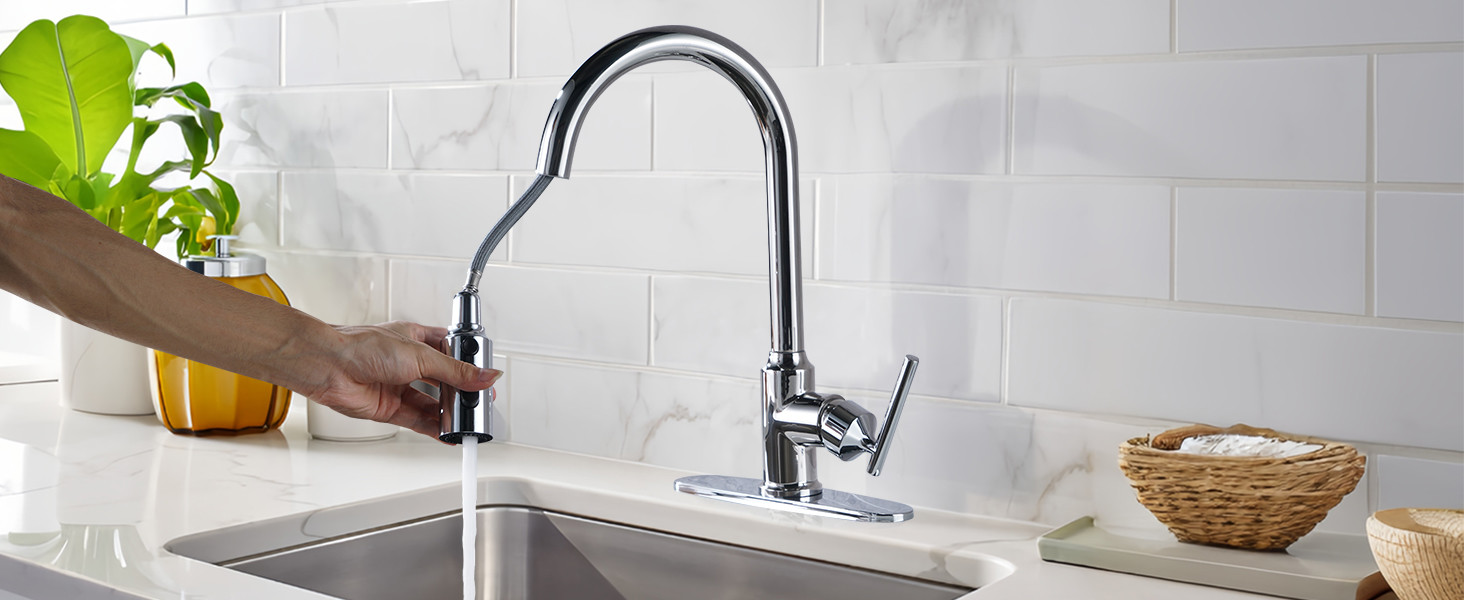
Updating your bathroom or kitchen doesn’t always require expensive renovations. Sometimes, a simple change—like refreshing your faucet’s finish—can make a big impact. If you’re wondering, “Can I paint my faucet?” the answer is yes! With the right preparation, paint, and technique, you can give your faucet a whole new look. This DIY guide will walk you through everything you need to know about faucet painting, from materials to step-by-step instructions, plus pros and cons to help you decide if it’s the right choice for your home.
Can You Paint a Faucet?
Yes, you can paint a faucet, but it requires careful preparation and the right type of paint to ensure durability. Faucets are exposed to water, cleaning agents, and frequent handling, so any paint you apply must be able to withstand these conditions. The key to success lies in using high-quality spray paint, a strong bonding primer, and a protective sealant to keep the finish looking great over time.
Pros and Cons of Painting a Faucet
Pros:
✅ Cost-Effective – Replacing a faucet can be expensive, while painting it is a budget-friendly alternative.
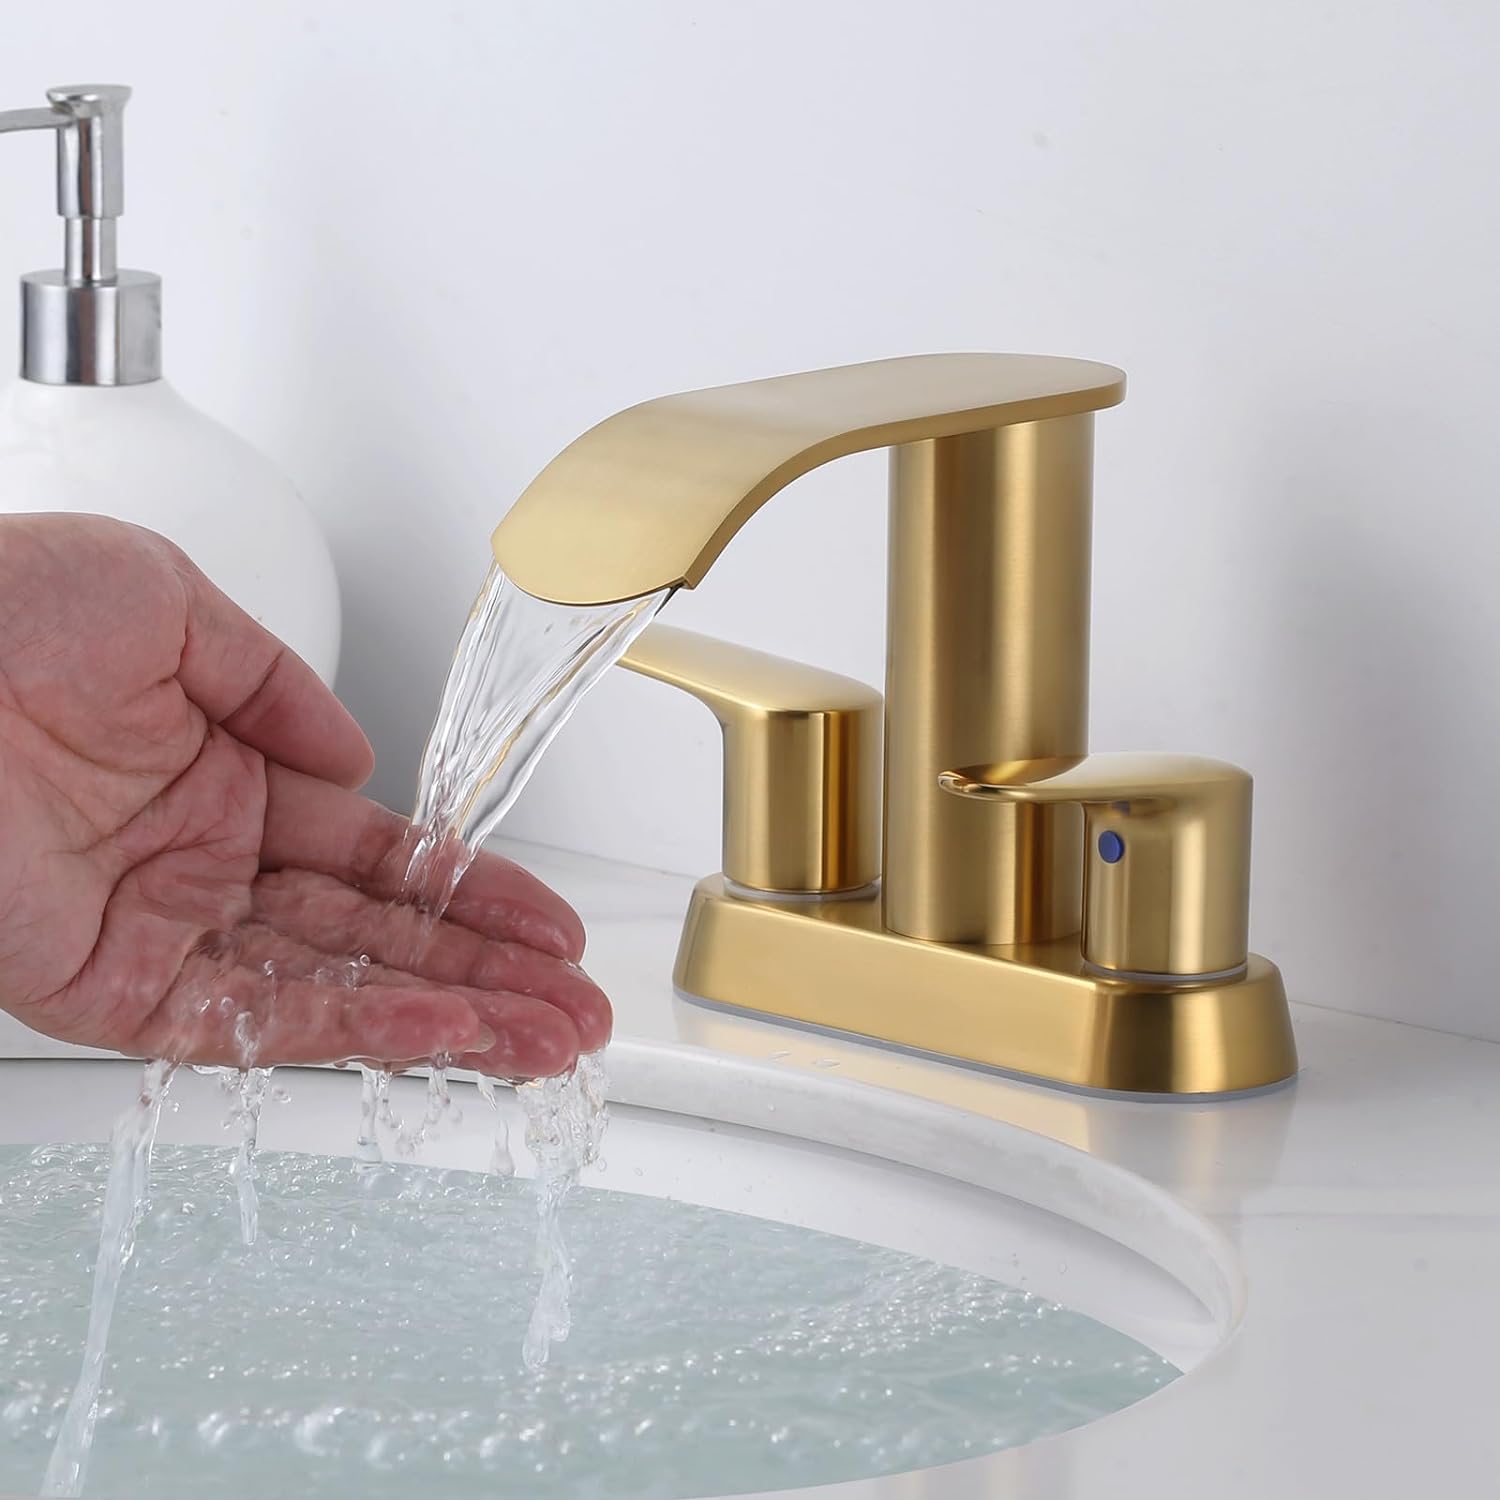
✅ Customizable – Choose any color or finish (matte black, brushed gold, oil-rubbed bronze, etc.) to match your decor.
✅ Quick Home Update – A painted faucet can give your kitchen or bathroom a fresh, modern look without a full remodel.
✅ Eco-Friendly – Instead of throwing out an old faucet, repainting helps reduce waste and promotes sustainability.
Cons:
❌ Durability Concerns – Even with the best prep work, painted faucets can chip, scratch, or wear down over time.
❌ Not Permanent – Unlike factory finishes, a painted faucet will likely need touch-ups or re-coating in the future.
❌ Time-Consuming Prep – Proper surface prep is crucial for a long-lasting finish, requiring sanding, priming, and multiple coats.
❌ Exposure to Water – Painted finishes may degrade faster in areas with high humidity or hard water.
What You’ll Need
Before you start, gather the following materials:
Supplies:
✔ Sandpaper (220–400 grit) – Helps roughen the surface for better paint adhesion.
✔ Degreaser or Rubbing Alcohol – Removes dirt, grease, and soap residue.
✔ Painter’s Tape – Protects surrounding areas from overspray.
✔ Plastic or Drop Cloths – Covers the sink and counter to prevent paint spills.
✔ High-Quality Spray Paint – Look for a metal-safe and water-resistant spray paint (Rust-Oleum, Krylon, or specialty appliance paint).
✔ Bonding Primer – Essential for helping the paint adhere to metal surfaces.
✔ Clear Sealant or Topcoat – Provides extra protection against water and wear.
✔ Screwdriver/Wrench – To remove the faucet (optional but recommended).
✔ Gloves & Mask – Protects your hands and prevents inhalation of fumes.
How to Paint a Faucet: Step-by-Step Guide
Step 1: Remove or Mask the Faucet
If possible, remove the faucet from the sink for easier painting.
If removing it isn’t an option, use painter’s tape and plastic sheets to protect the sink and surrounding surfaces.
Step 2: Clean the Faucet Thoroughly
Use a degreaser or rubbing alcohol to remove any soap scum, grease, or mineral buildup.
Let it dry completely before moving to the next step.
Step 3: Sand the Surface
Use 220–400 grit sandpaper to create a slightly rough texture. This helps the primer and paint stick better.
Wipe away dust with a clean, dry cloth.
Step 4: Apply Bonding Primer
Shake the primer can well and spray a light, even coat over the faucet.
Allow it to dry completely (follow the manufacturer’s drying time).
Apply a second coat if needed for full coverage.
Step 5: Paint the Faucet
Hold the spray can 6–8 inches away and apply thin, even coats.
Avoid spraying too close, as this can cause drips or uneven coverage.
Allow each coat to dry fully before adding another (usually 15–30 minutes between coats).
Apply 2–3 coats for full, even coverage.
Step 6: Apply a Clear Sealant (Optional but Recommended)
Once the paint is fully dry, spray a clear protective topcoat to help protect against water damage and scratches.
Let the sealant cure for at least 24 hours before reinstalling or using the faucet.
Tips for a Long-Lasting Painted Faucet
✔ Avoid using abrasive cleaners – Stick to mild soap and water to prevent chipping.
✔ Allow proper drying and curing time – The longer the paint cures, the more durable the finish will be.
✔ Use a satin or matte finish – Glossy finishes may show more imperfections.
✔ Touch up as needed – Keep extra paint on hand for minor repairs.
Alternative Ways to Change a Faucet’s Finish
If you’re unsure about painting your faucet, here are a few other options:
Faucet Wraps or Vinyl Covers – Peel-and-stick wraps provide a non-permanent way to change your faucet’s look.
Electroplating or Powder Coating – A professional method for a more durable, factory-like finish.
Replacing the Faucet – If your faucet is old or worn out, a new faucet might be a better investment than painting.
Final Verdict: Is Painting a Faucet Worth It?
Painting a faucet is a great budget-friendly DIY project if you’re looking to refresh your kitchen or bathroom’s look without a full remodel. However, it’s not a permanent solution, and durability depends on proper prep work, high-quality materials, and regular maintenance.
If you’re willing to put in the effort and understand that the finish may require occasional touch-ups, painting your faucet is a fun and rewarding DIY upgrade!
Would you try painting your faucet? Let us know in the comments!
#DIY #HomeImprovement #FaucetPainting #BudgetMakeover #HomeRenovation
 WOWOW Faucets


您好!Please sign in