Upgrading your bathroom faucet handles can be a straightforward yet impactful way to refresh the look and functionality of your bathroom space. Whether you’re replacing worn-out handles or updating to match a new décor theme, this guide will walk you through the steps to successfully change your bathroom faucet handles.
Guide to Upgrading Your Bathroom Faucet Handles
1. Assess Your Current Faucet
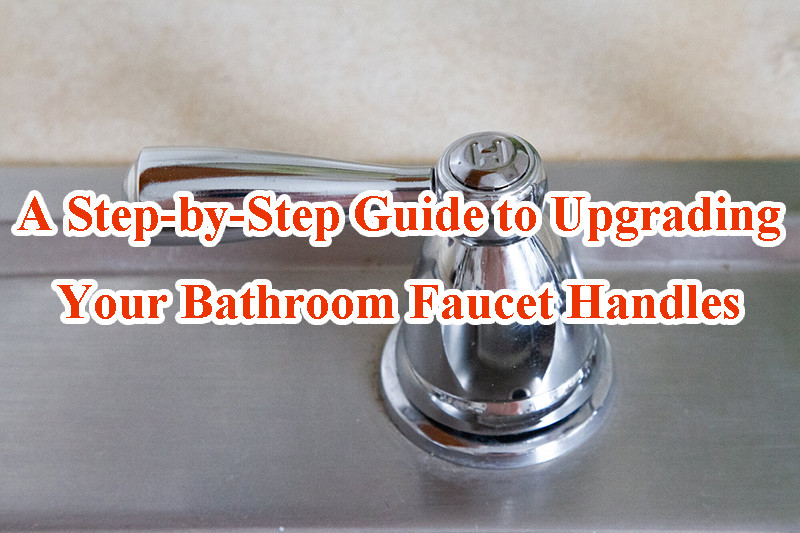
Before you begin, it’s essential to understand the type of faucet you have. Faucet handles can vary significantly based on the model and manufacturer. Common types include single-handle faucets, double-handle faucets (with separate hot and cold handles), and lever-style handles. Take note of your existing setup to ensure you purchase compatible replacement handles.
2. Gather Your Tools
To complete this project, gather the necessary tools and materials:
- New faucet handles
- Screwdriver (flathead or Phillips, depending on your faucet)
- Adjustable wrench or pliers (if needed)
- Penetrating oil (if your handles are stuck due to corrosion)
- Towels or rags (to catch any water drips)
3. Turn Off Water Supply
Before beginning any work, shut off the water supply to your faucet. Locate the shut-off valves under the sink and turn them clockwise until they are fully closed. Next, turn on the faucet to drain any remaining water in the lines and relieve pressure.
4. Remove Existing Handles
To remove the old handles, follow these steps:
- Access the Handle Screws: Look for a small screw at the base of each handle. Depending on your faucet type, this screw may be exposed or hidden beneath a decorative cap or cover. Use a flathead or Phillips screwdriver to unscrew and remove these screws.
- Lever Handles: If your faucet has lever-style handles, they may attach differently. Look for a small set screw along the handle’s base or underneath. Loosen this screw to release the handle from the valve stem.
- Stuck Handles: If the handles are stuck due to corrosion, apply penetrating oil around the base and allow it to sit for a few minutes before attempting to loosen them again.
5. Install New Handles
Once the old handles are removed, install the new handles by reversing the removal process:
- Align and Attach: Position the new handles over the valve stems, ensuring they align correctly. Insert the handle screws and tighten them securely using a screwdriver.
- Lever Handles: For lever-style handles, slide the handle onto the valve stem and tighten the set screw to secure it in place.
6. Test the Handles
After installing the new handles, turn on the water supply and test each handle to ensure they operate smoothly and without leaks. Check for any drips or leaks around the base of the handles and tighten as necessary.
7. Final Adjustments
Make any final adjustments to ensure the handles are securely attached and aligned properly. Use an adjustable wrench or pliers to tighten the connection if needed, taking care not to over-tighten and damage the faucet or handles.
8. Clean Up
Once you’re satisfied with the installation, clean up any excess water or debris from the work area. Dispose of old parts responsibly or keep them for recycling if applicable.
9. Enjoy Your Upgraded Bathroom
With your new faucet handles installed, take a moment to admire your handiwork. Enjoy the refreshed look and improved functionality of your bathroom faucet handles!
Conclusion
Changing your bathroom faucet handles is a manageable DIY project that can enhance the aesthetics and usability of your bathroom space. By following these steps and taking care to select compatible replacement handles, you can successfully update your bathroom’s appearance with minimal hassle. Remember to always shut off the water supply before beginning work and test for leaks after installation. With a bit of time and effort, you can achieve a noticeable upgrade that enhances your daily bathroom experience.
 WOWOW Faucets


您好!Please sign in