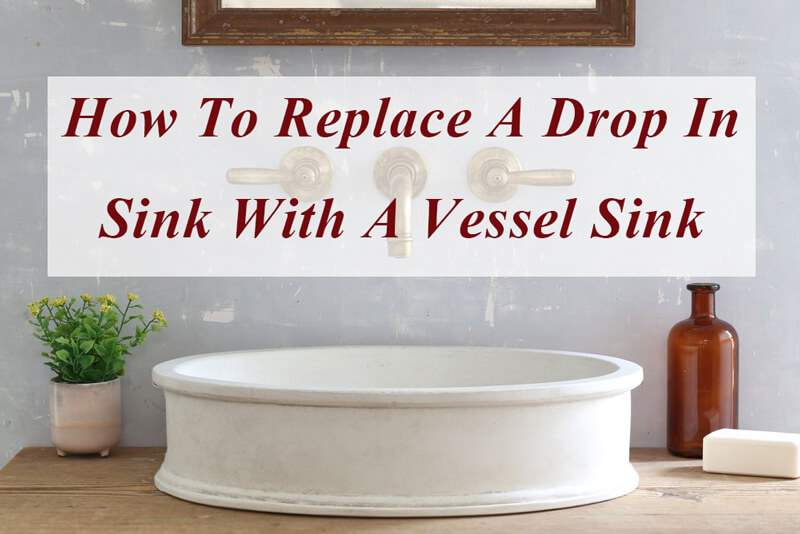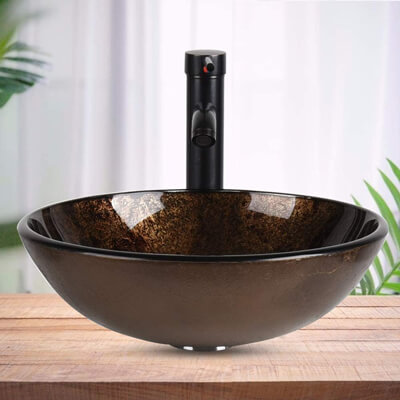
Are you looking to give your kitchen a fresh, modern look? One excellent way to do so is by replacing your old, conventional drop-in sink with a trendy vessel sink. Vessel sinks not only add a touch of elegance to your space but also provide extra countertop space and make a bold design statement. If you’re ready to take on this DIY project, we’ve got you covered. In this step-by-step guide, we’ll walk you through the process of replacing a drop-in sink with a vessel sink, ensuring a seamless transition and a stunning new kitchen focal point.
How to replace a drop in sink with a vessel sink

Step 1: Gather Your Materials and Tools
Before you begin, make sure you have the following materials and tools on hand:
- Vessel sink and faucet
- Wrenches
- Screwdriver
- Plumber’s putty
- Silicone adhesive
- Drain assembly kit
- P-trap
- Bucket
- Towels
- Safety goggles
- Pipe cutter (if needed)
- Adjustable wrench
- Plumber’s tape
- Adjustable pliers
Step 2: Turn Off the Water Supply
First and foremost, turn off the water supply to your sink. You can usually find the shut-off valves under the sink or in the basement. Once the water is off, turn on the faucet to release any remaining water in the pipes.
Step 3: Disconnect the Plumbing
Use wrenches and pliers to disconnect the water supply lines and drainpipe from your old sink. Be prepared for some water to spill out during this step, so have towels and a bucket handy to catch any excess water.
Step 4: Remove the Old Sink
Next, remove the old drop-in sink by loosening the clips or brackets holding it in place. Carefully lift the sink out of its cutout in the countertop and set it aside.
Step 5: Prepare the Countertop
Clean the countertop thoroughly to remove any old adhesive or debris. Measure the diameter of your vessel sink’s drain hole and mark the center of your countertop.
Step 6: Install the Vessel Sink
Apply a generous amount of plumber’s putty around the drain hole on the bottom of your vessel sink. Carefully place the sink onto the countertop, aligning it with the center mark. Press down firmly to create a watertight seal.
Step 7: Install the Faucet
Follow the manufacturer’s instructions to install the faucet onto the sink. This typically involves securing it from underneath the sink using nuts or screws.
Step 8: Connect the Plumbing
Reconnect the water supply lines and drainpipe to the new faucet and vessel sink. Use plumber’s tape to ensure a tight seal and prevent leaks. Tighten all connections with wrenches and pliers.
Step 9: Apply Silicone Adhesive
Apply silicone adhesive around the edge of the sink where it meets the countertop. This not only helps secure the sink but also prevents water from seeping beneath it.
Step 10: Test for Leaks
Turn the water supply back on and check for any leaks. Tighten connections as needed to eliminate any drips.
Tips for replacing a drop-in sink with a vessel sink
Here are some additional tips to keep in mind when replacing a drop-in sink with a vessel sink:
- Measure Twice, Cut Once: Before making any cuts in your countertop, double-check all measurements to ensure they are accurate. Precision is key to achieving a proper fit for your vessel sink.
- Choose the Right Vessel Sink: Consider the style and size of your vessel sink carefully. Make sure it complements the overall design of your kitchen and provides enough clearance between the faucet and the sink bowl.
- Check Your Plumbing: Assess the existing plumbing to ensure it aligns with the specifications of your new vessel sink and faucet. You may need to make adjustments or purchase additional parts, such as extension hoses or longer supply lines.
- Follow Manufacturer’s Instructions: Always follow the installation guidelines provided by the manufacturer of your vessel sink and faucet. These instructions are specific to the product and will help ensure a successful installation.
- Apply Adequate Sealants: Properly seal the vessel sink to the countertop using plumber’s putty and silicone adhesive. This step is crucial for preventing leaks and ensuring a secure fit.
- Test for Leaks Thoroughly: After reconnecting the plumbing and turning on the water supply, check for any leaks or drips. It’s essential to catch and fix any issues before they can cause damage to your cabinets or countertop.
- Use Safety Gear: When working with tools and plumbing, wear safety goggles to protect your eyes. Additionally, keep a bucket and towels nearby to manage any unexpected spills.
- Consider Professional Help: If you’re uncomfortable with any aspect of the installation, or if you encounter unexpected challenges, don’t hesitate to seek the assistance of a professional plumber or contractor. It’s better to ensure the job is done correctly and safely.
- Plan for Additional Space: Keep in mind that vessel sinks typically sit higher than drop-in sinks, which may require adjustments in the plumbing and vanity height. Ensure that there is enough clearance between the sink and any cabinets or drawers below.
- Maintenance Matters: Regularly clean and maintain your vessel sink and faucet to keep them looking their best. Avoid using abrasive cleaners or harsh chemicals that could damage the finish.
- Take Your Time: This project may take a few hours to complete, so don’t rush through it. Patience and attention to detail will lead to a more successful installation.
By following these tips and the step-by-step guide provided earlier, you’ll be well-prepared to replace your drop-in sink with a stylish vessel sink and enjoy the aesthetic and functional benefits it brings to your kitchen.
Conclusion

Congratulations! You’ve successfully replaced your old drop-in sink with a stylish vessel sink, transforming your kitchen into a contemporary and eye-catching space. Remember to take your time, follow the manufacturer’s instructions, and exercise caution when working with plumbing. With the right tools and a bit of patience, you can achieve a professional-looking result.
FAQs
Q1: Can I replace any drop-in sink with a vessel sink?
A1: In most cases, yes. However, it’s essential to ensure that your countertop can support the weight of the vessel sink and that you have enough space for the faucet and drain assembly.
Q2: Do I need a plumber to install a vessel sink?
A2: While hiring a professional plumber is an option, many homeowners with basic DIY skills can successfully install a vessel sink. Just be sure to follow the instructions carefully and check for leaks.
Q3: Can I use my existing faucet with a vessel sink?
A3: It depends on the height and style of your existing faucet. Vessel sinks typically require taller faucets to accommodate the added height. If your current faucet isn’t compatible, you’ll need to purchase a new one.
Q4: How do I clean and maintain a vessel sink?
A4: Vessel sinks are relatively easy to clean. Use a mild, non-abrasive cleaner and a soft cloth to wipe down the sink regularly. Avoid abrasive scrubbers or cleaners that could damage the surface.
Q5: What should I do if I encounter plumbing issues during installation?
A5: If you run into plumbing problems, such as leaks or difficulty with connections, it’s a good idea to consult a professional plumber for assistance. Plumbing issues should be addressed promptly to prevent water damage.
 WOWOW Faucets


您好!Please sign in