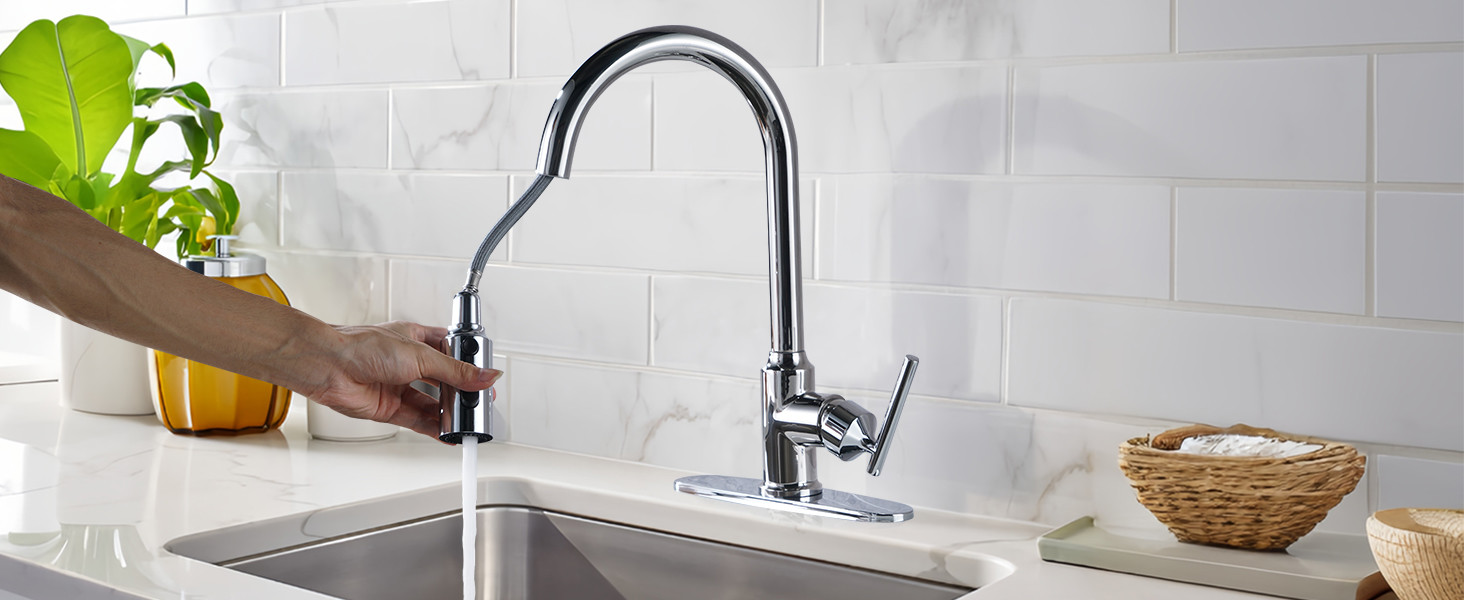
The aerator plays a crucial role in the functioning of a kitchen faucet, regulating the flow of water while conserving it. However, over time, mineral deposits and debris can accumulate, leading to reduced water pressure. To address this issue, it becomes necessary to remove aerator from kitchen faucet and clean it. In this comprehensive guide, we will walk you through the step-by-step process of how to remove aerator from kitchen faucet without further ado.
Tools you need
Gather the necessary tools Before you begin, make sure you have the following tools on hand:
- Pair of pliers
- Cloth or rubber jar opener (to protect the aerator from scratches)
How to remove aerator from kitchen faucet
Step 1: Turn off the water supply Locate the water valves under the sink and turn them clockwise to shut off the water supply. This precautionary measure will prevent any water from spraying out when you remove the aerator.
Step 2: Prepare the aerator for removal To ensure a smooth removal process, it’s advisable to prepare the aerator first. Place a cloth or rubber jar opener around the aerator to protect its surface from scratches. The cloth will also provide a better grip when using the pliers.
Step 3: Loosen the aerator Using the pliers, grip the aerator firmly but gently. Make sure to position the pliers at the base of the aerator where it connects to the faucet spout. Turn the aerator counterclockwise to loosen it. Initially, you may encounter some resistance due to sediment buildup or a tight connection.
Step 4: Remove the aerator by hand Once the aerator is sufficiently loosened, you should be able to remove it by hand. Continue turning it counterclockwise until it comes off completely. If it proves difficult to turn by hand, you can use the pliers to provide extra leverage. However, be cautious not to apply excessive force, as it may damage the aerator or the faucet.
Step 5: Inspect the aerator With the aerator removed, take a moment to inspect it for any visible signs of sediment, debris, or mineral buildup. These deposits can hinder the flow of water and compromise the aerator’s performance.
Step 6: Clean the aerator To clean the aerator, rinse it under running water to remove any loose debris. If the buildup is stubborn, you can soak the aerator in vinegar for a few hours to dissolve the mineral deposits. Gently scrub the aerator with a soft brush, such as an old toothbrush, to remove any remaining residue. Rinse it thoroughly with water to ensure all traces of vinegar are removed.
Step 7: Reinstall the aerator After cleaning, ensure the aerator is completely dry before reinstalling it. Align the threads on the aerator with those on the faucet spout. Carefully screw the aerator back onto the faucet spout by turning it clockwise. Use your hands initially and then tighten it further with the pliers. Take care not to overtighten, as this may cause damage.
Step 8: Turn on the water supply Once the aerator is securely reattached, turn on the water supply by reopening the water valves under the sink. Gradually turn the valves counterclockwise to restore water flow. Observe the faucet for any leaks or irregularities in water pressure.
Conclusion
Removing the aerator from your kitchen faucet is a simple process that can significantly improve water flow and ensure the faucet’s optimal performance. By following the step-by-step guide outlined above, you can easily remove, clean, and reinstall the aerator, effectively restoring its functionality. Remember to exercise caution, use the appropriate tools, and take your time during the process. With a clean aerator, you’ll enjoy a consistent and efficient water flow in your kitchen, enhancing your overall cooking and cleaning experience.
 WOWOW Faucets


您好!Please sign in