How to Clean An Aerator on Kitchen or Bathroom Faucet
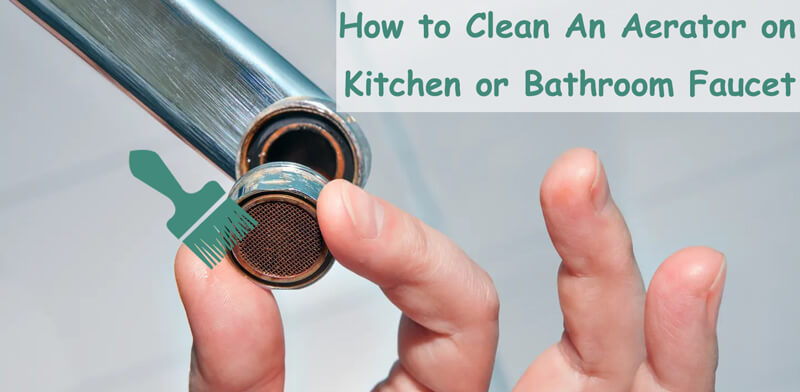
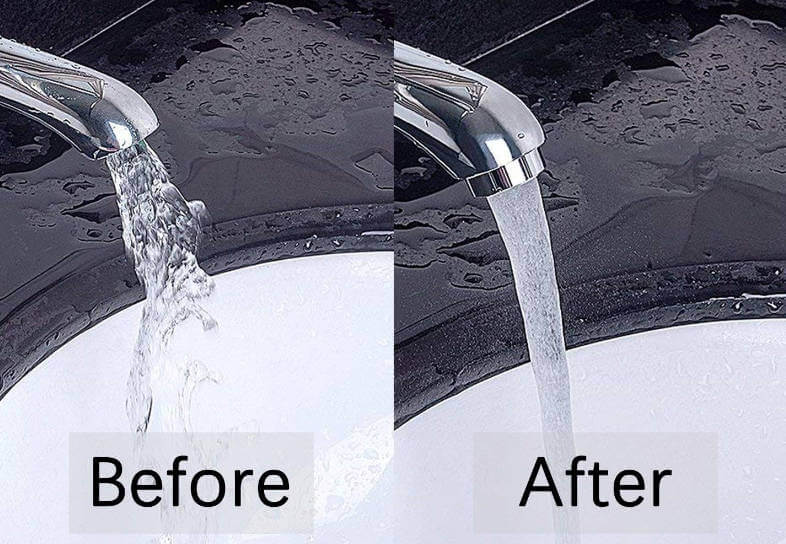
A faucet aerator is a small, round device that can splash-free steam of water. Aerators usually create a mixture of water and air, making the stream smoother. However, the aerators may become clogged with mineral deposits, leading to low water flow or an erratic stream. In this case, you need to clean out the faucet aerator. This post covers the detailed steps to clean the aerator on a kitchen or bathroom faucet for your reference.
Required tools to clean out faucet aerator
As the saying goes, a craftsman must sharpen his tools to do his job. So, before clean out the faucet aerator, you need to prepare some tools in advance. Here’s what you need:
- Channel-lock pliers
- Small screwdriver
- Sewing needle
- Toothbrush
- Materials
- Masking tape
- Paper clip
- Vinegar
Full guide on how to clean faucet aerator
Step 1: Remove the aerator
Hold the aerator with your hand, loosen it clockwise (looking down from above), and remove it from the end of the faucet nozzle. If the aerator is stuck and cannot be turned, use pliers (slot pliers preferably) to loosen it carefully. Do not squeeze the pliers hard, otherwise the aerator may be damaged. Some aerators are made of plastic and are easily broken.
Tips: Wrap the jaws of the pliers with tape to prevent scratching the surface of the aerator.
Step 2: Check for deposits and debris
Use your little finger or a small screwdriver to check whether there are any parts inside the faucet mouth that may be stuck inside. If they are stuck in mineral deposits, you may need to pry out the parts with a screwdriver. In addition, remove any deposits or debris from the nozzle.
Step 3: Disassemble and clean parts
Use toothpicks or paper clips to disassemble the aerator and pay attention to the fit of each part. Rinse away all large deposits. If you see a clogged hole on the screen or other parts, use a paperclip or sewing needle to remove it.
Step 4: Soak the parts in vinegar
Soak screens and other aerator parts in vinegar to dissolve mineral deposits (scale). It is best to soak the parts in vinegar overnight, but at least until the deposits are soft enough to be removed with a toothbrush or toothpick.
Step 5: Rinse and reassemble the aerator
Run the faucet for a few seconds to rinse off loose debris, but be careful: water will spray out and may splash out of the sink. Reassemble the aerator parts in the original order.
Step 6: Reconnect the aerator
Screw the aerator back onto the spout, turn it counterclockwise (viewed from above) and tighten it by hand as much as possible. Let the water run to check for leaks. If water flows out of the aerator, use pliers to tighten the aerator a little more. That’s all.
 WOWOW Faucets


您好!Please sign in