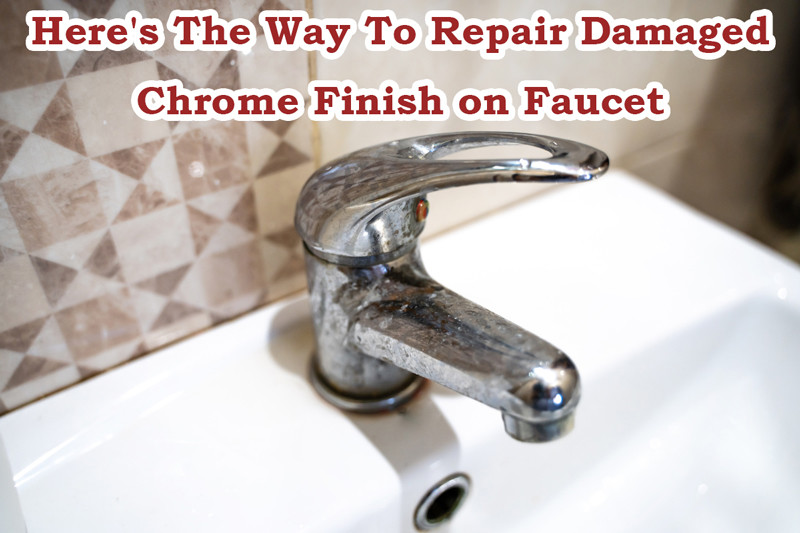
Chrome-finished faucets are a popular choice in modern kitchens and bathrooms due to their sleek and polished appearance. However, over time, the chrome finish may start peeling off, leaving your once-shiny fixture looking worn and tarnished. The good news is that you don’t have to replace the entire faucet; there are effective ways to repair chrome finish peeling off and restore its original luster. In this guide, we’ll explore the reasons behind chrome peeling and provide step-by-step instructions on how to repair it.
Understanding the Causes of Chrome Finish Peeling Off:
Before diving into the repair process, it’s crucial to understand why chrome finishes on faucets may peel. The primary reasons include:
- Age and Wear: Over time, daily use and exposure to water, cleaning agents, and other environmental factors can contribute to the wear and tear of the chrome finish.
- Poor Quality or Thin Chrome Coating: Some faucets may come with a thin or low-quality chrome coating that is prone to peeling. This is often more common in budget-friendly options.
- Harsh Cleaning Agents: The use of abrasive or corrosive cleaning agents can accelerate the deterioration of the chrome finish. Always opt for mild, non-abrasive cleaners to preserve the chrome’s integrity.
How to Repair Damaged Chrome Finish on Faucet
Now, let’s move on to the step-by-step guide on repairing damaged chrome finishes:
Step 1: Gather Your Materials
Before starting the repair process, gather the necessary materials, including:
- Mild dish soap
- Soft sponge or cloth
- Chrome cleaner or polish
- Microfiber cloth
- Chrome spray paint (if needed)
- Painter’s tape
- Plastic drop cloth or newspaper (to protect surrounding areas)
Step 2: Clean the Faucet Thoroughly
Begin by cleaning the faucet to remove any dirt, grime, or loose chrome particles. Use a mixture of mild dish soap and water along with a soft sponge or cloth. Avoid abrasive materials that may cause further damage. Dry the faucet with a clean, dry cloth.
Step 3: Assess the Damage
Examine the extent of the chrome damage. If the peeling is minimal and only affects a small area, you may be able to repair it without resorting to a full refinishing.
Step 4: Polish the Chrome Surface
Apply a small amount of chrome cleaner or polish to a microfiber cloth and gently polish the damaged area. Follow the product instructions, and avoid excessive pressure to prevent further damage. This step helps remove any remaining loose chrome and smoothens the surface.
Step 5: Use Chrome Spray Paint (If Necessary)
For more extensive damage or if the chrome finish is beyond repair, consider using chrome spray paint specifically designed for faucets. Begin by taping off surrounding areas with painter’s tape and covering larger surfaces with a plastic drop cloth or newspaper.
Hold the spray paint can at a distance and apply thin, even coats. Allow each coat to dry completely before applying the next one. Follow the manufacturer’s instructions for drying times and recommended number of coats.
Step 6: Seal and Protect
Once the repaired or repainted area is dry, apply a clear lacquer or sealant designed for metal surfaces. This step helps protect the chrome finish from future damage and ensures a longer-lasting repair.
Step 7: Regular Maintenance
To prevent future peeling, practice regular maintenance. Clean your faucet regularly with a mild, non-abrasive cleaner, and avoid harsh chemicals. Be mindful of the type of cleaning tools you use, opting for soft materials that won’t scratch the surface.
How to Maintain Chrome Finish Faucets
1. Gentle Cleaning Practices:
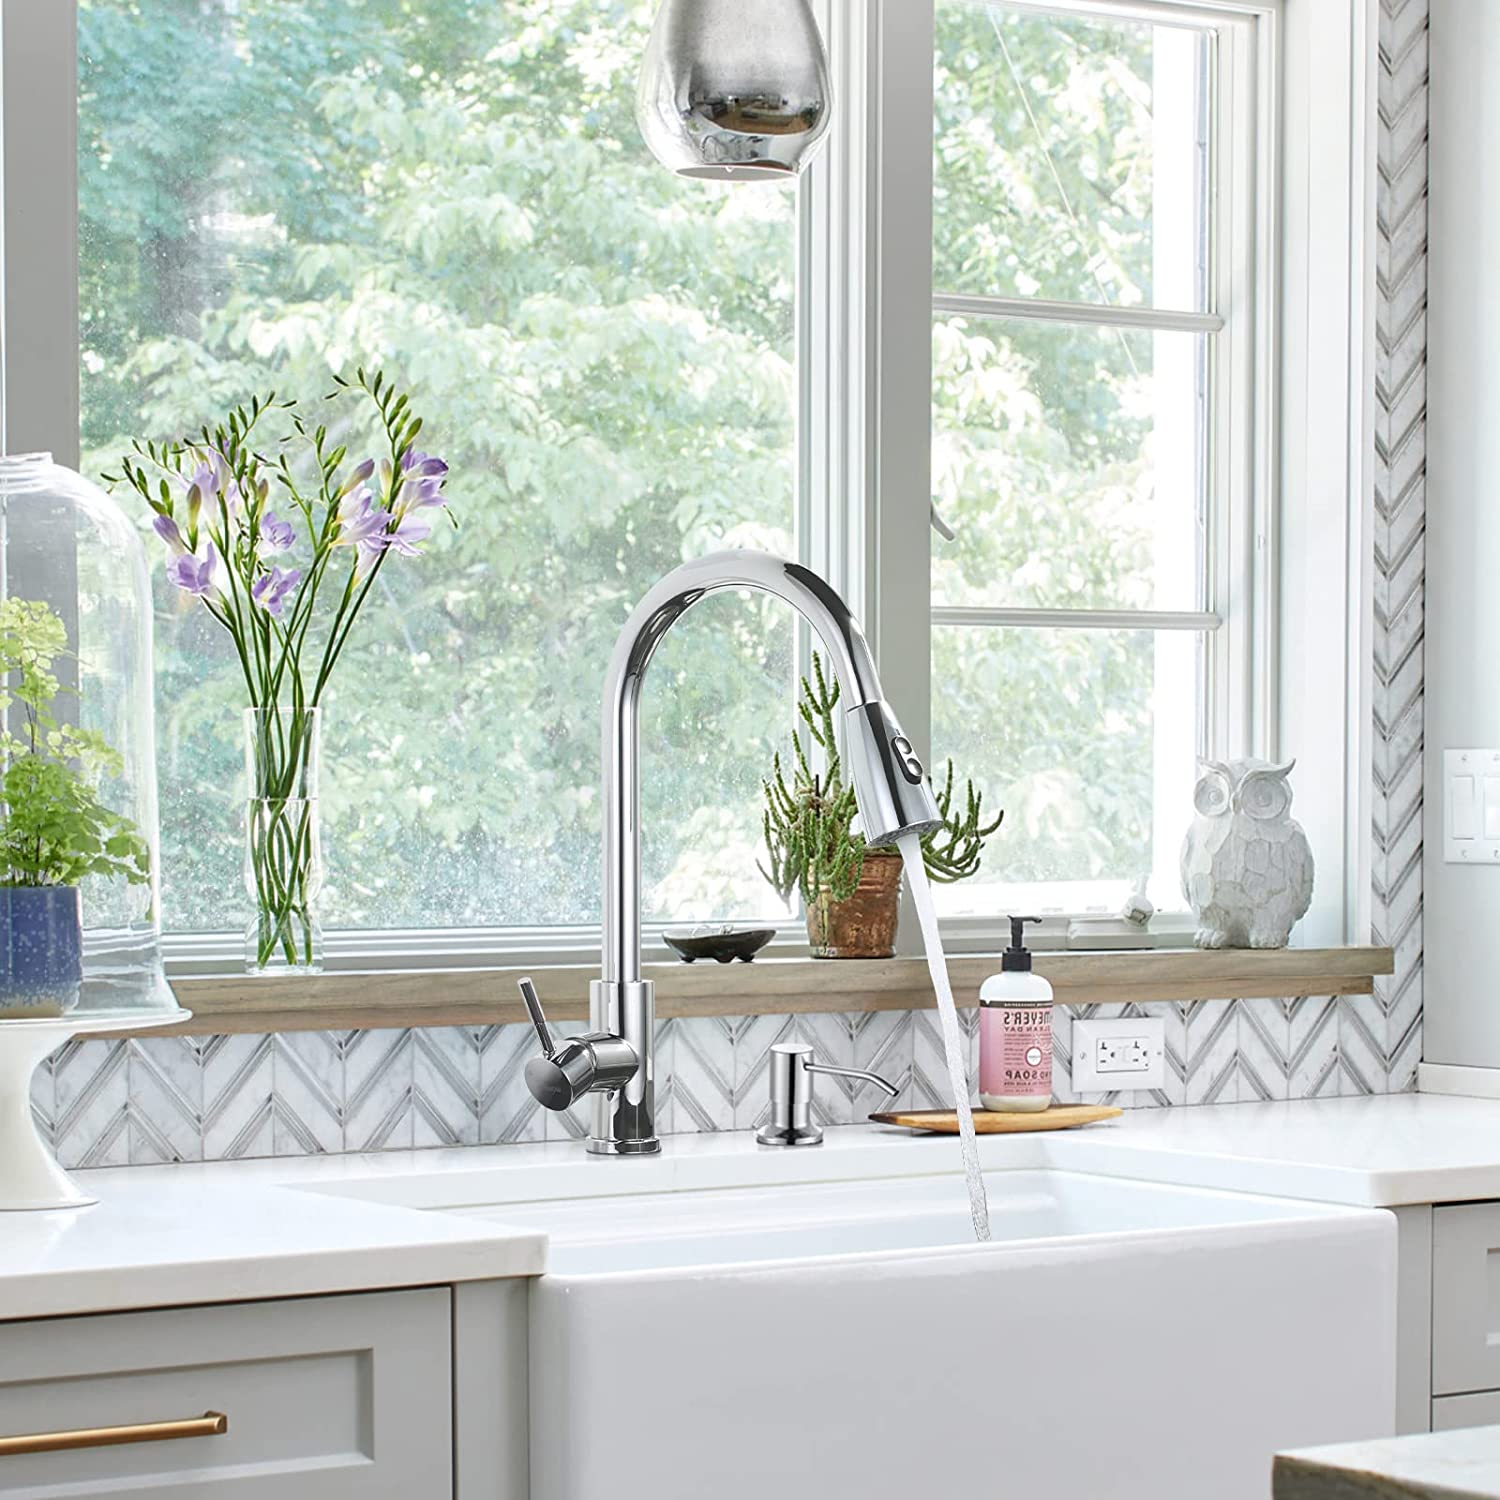
To maintain the shine and longevity of your chrome faucet, adopt gentle cleaning practices. Use a mild, non-abrasive cleaner to wipe away daily grime and water spots. Avoid harsh chemicals or abrasive materials that could scratch or damage the chrome surface. Opt for soft microfiber cloths or sponges to gently clean the faucet, ensuring that you preserve its lustrous finish without causing any harm.
2. Regular and Prompt Cleaning:
Consistent and prompt cleaning is key to preventing the buildup of stubborn stains or mineral deposits on your chrome faucet. Attend to spills and stains promptly, as allowing substances like toothpaste or soap to linger may lead to deterioration over time. Regular cleaning not only maintains the aesthetic appeal but also prevents the need for more intensive and potentially damaging cleaning methods in the future.
3. Avoid Harsh Chemicals:
Steer clear of harsh cleaning agents containing acids or abrasives, as they can strip away the protective chrome layer. Choose mild, chrome-friendly cleaners and ensure that any cleaning products you use are specifically designed for chrome surfaces. By avoiding corrosive chemicals, you’ll safeguard the integrity of your faucet’s finish and contribute to its long-term durability.
Conclusion:
Repairing a damaged chrome finish on your faucet is a cost-effective and environmentally friendly alternative to replacing the entire fixture. By following these step-by-step instructions and taking preventive measures, you can restore the shine to your faucet and enjoy its aesthetic appeal for years to come. Remember to use high-quality products, take your time during the repair process, and maintain your faucet properly to extend its lifespan. With a little effort, your chrome-finished faucet can regain its former glory, enhancing the overall look of your kitchen or bathroom.
 WOWOW Faucets




您好!Please sign in