Remember! Bathroom Waterproofing Must Be Constructed In This Way, Dripping Water Does Not Leak!
Renovate the bathroom
The most important thing is waterproofing
Today I brought the bathroom waterproofing treasures
Reasons For Water Seepage In The Bathroom
1、Cracks in the rubber cement mix.
2、After making a good waterproof layer, the latter process destroyed the waterproof layer (tile).
3、Used bad water proofing materials (cheap goods).
4、Not done as a required waterproof layer or waterproof layer thickness is not enough (> 1.2mm).
5、Did not do the node processing as required.
6、The slotted and buried pipe destroyed the original waterproof layer caused by leakage.
7、When doing a waterproofing, the substrate does not meet the requirements. There is sand or loose and other phenomena.
8、The shrinkage of water pipes and cement is different to produce cracks.
Waterproofing Tips For Bathroom Renovation
1, be sure to do wall waterproofing. Before laying wall tiles, do a good job of wall water proofing. General water proofing treatment in the wall to do 30 cm high water proofing treatment. But for non-load-bearing light walls, you have to waterproof the whole wall, at least 60 cm high.
2, the joints between the wall and the ground and between the water pipe ground joints, are the most likely to have problems. Be sure to urge good workers to deal with these corners. Waterproof paint must be applied in place.
3, in the resurfacing of the floor tile, you have to do ground waterproofing. If you need to replace the original bathroom tile, after the original floor tile is chiseled away, be sure to use cement mortar to level the ground first before doing the water proofing. This can avoid leakage caused by the uneven thickness of the waterproof coating. Before doing a water proofing, be sure to clean up the ground.
4, try not to destroy the original waterproof layer. In the newly delivered building, the ground is generally made waterproof layer. So, if you do not destroy the original waterproof layer, it is generally not leakage.
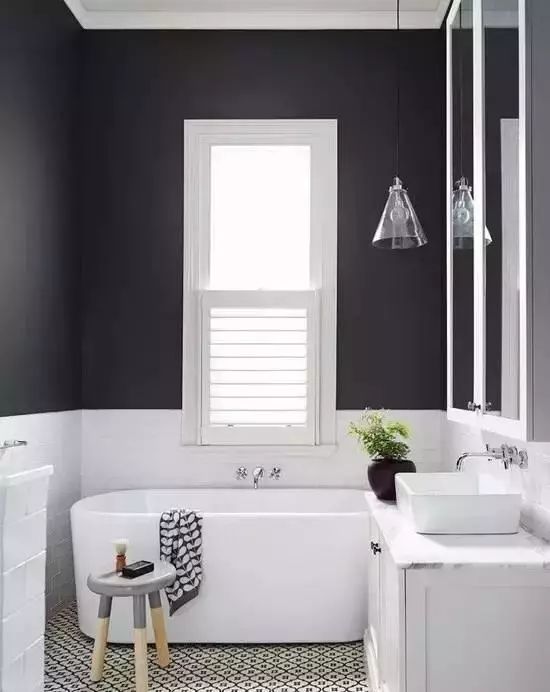
5, Ask the renovation team to make a good cement root guard for all the up and down water pipes in the bathroom. The waterproofing paint should be brushed at a location 10 to 20 cm up from the ground. Then redo the ground ester waterproofing, so that there is a composite waterproof layer with the original waterproof layer to enhance waterproofing.
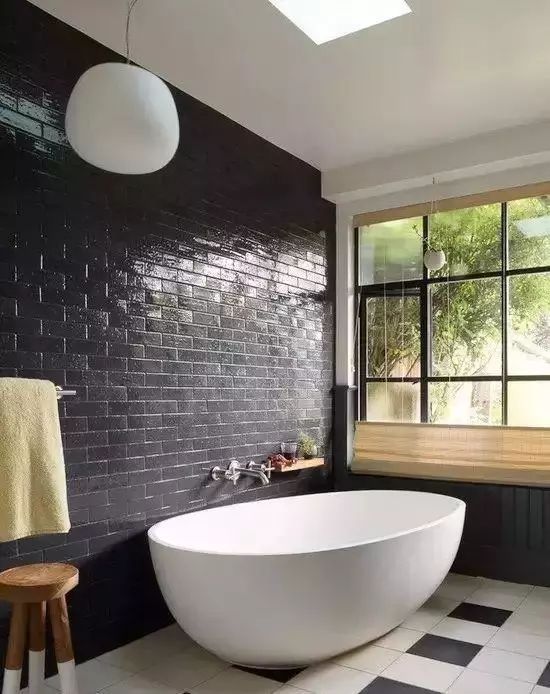
6, the water pipe recess in the wall should also be waterproof. During construction, the waterproofing layer around the perimeter of the hole where the pipe or floor drain, etc. crosses the floor must be carefully constructed. For the water pipes buried in the wall, do a reasonable layout. Make a groove larger than the diameter of the pipe for all the water pipes to be laid. Plaster the groove round, and then brush waterproofing paint in the groove.
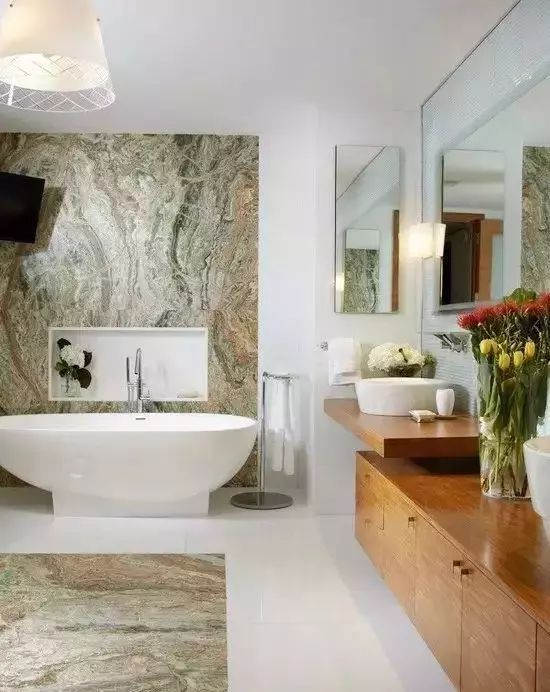
7, check the waterproofing with a 24-hour “water test”. After the waterproofing work is done, seal the doorway and downspout. When the bathroom floor is full of water to a certain liquid height, and make a mark. If within 24 hours, the liquid level does not drop significantly, especially the roof of the house downstairs did not occur leakage, then prove that the waterproofing is done qualified.

Waterproofing Specifications For Bathroom Renovation
1, coated with waterproofing materials.
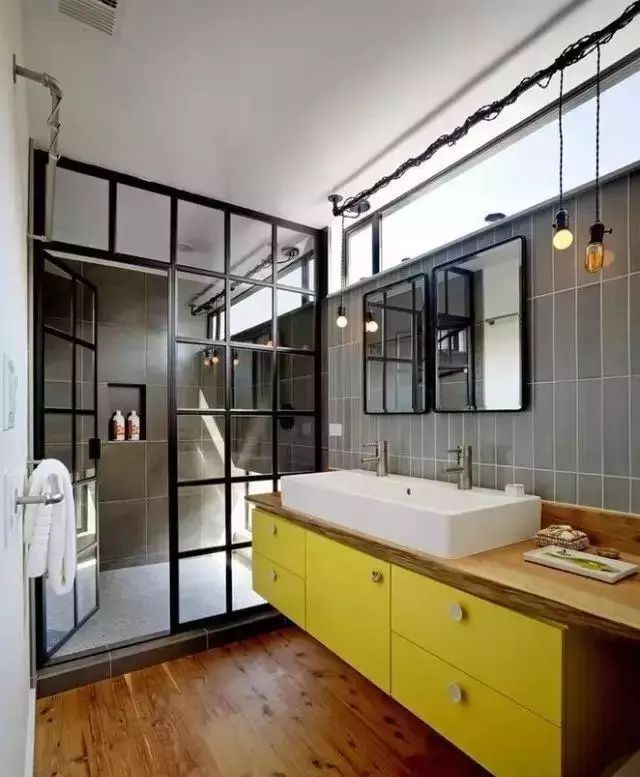
2, waterproof material performance should be in line with the provisions of the relevant national standards in force and should have a product certificate of conformity.

3, the surface of the grass-roots level, no air drums, sand, cracking and other defects. The moisture content of the substrate should be in line with the construction requirements of waterproofing materials.
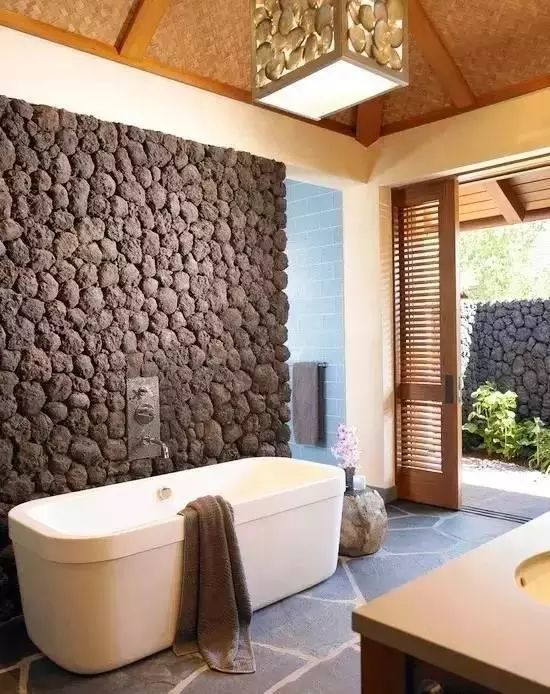
4, the waterproof layer should be extended from the ground to the wall, 250mm above the ground. The height of the waterproof layer of the bathroom wall shall not be less than 1800mm.

5, waterproof cement mortar leveling layer and the foundation combined with dense, no drums, smooth and clean surface, no cracks, sand, yin and Yang corners made of rounded shape.
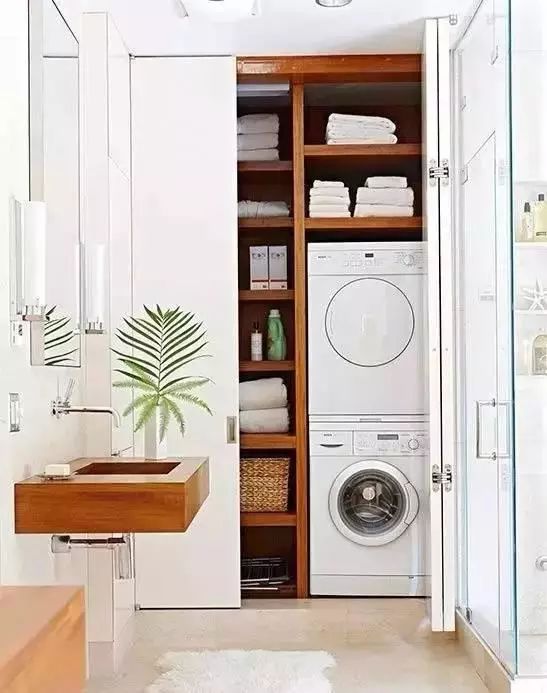
6, waterproof layer to be painted evenly. Thickness meets the requirements of the technical provisions of the product. In general, the thickness is not less than 1.5mm and does not show the bottom.
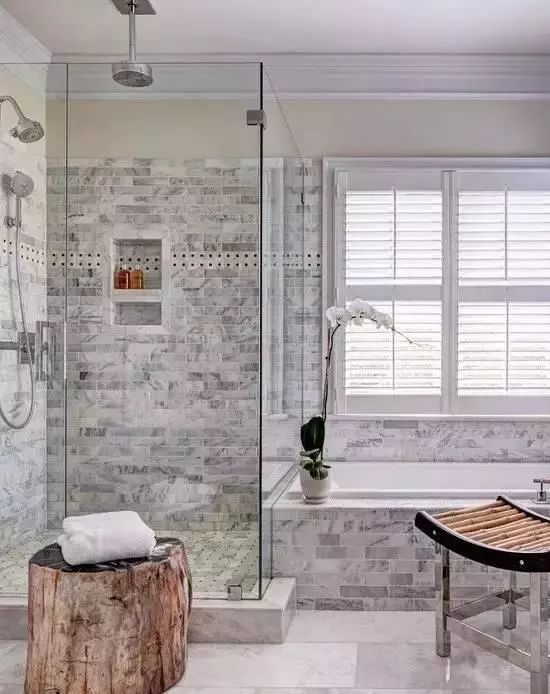
7, the use of construction stubble should be lapped in the direction of flowing water, and the lap width of not be less than 100mm. when you use more than two layers of glass fiber cloth for the upper and lower lap, allow them to stagger by one-half of the width.
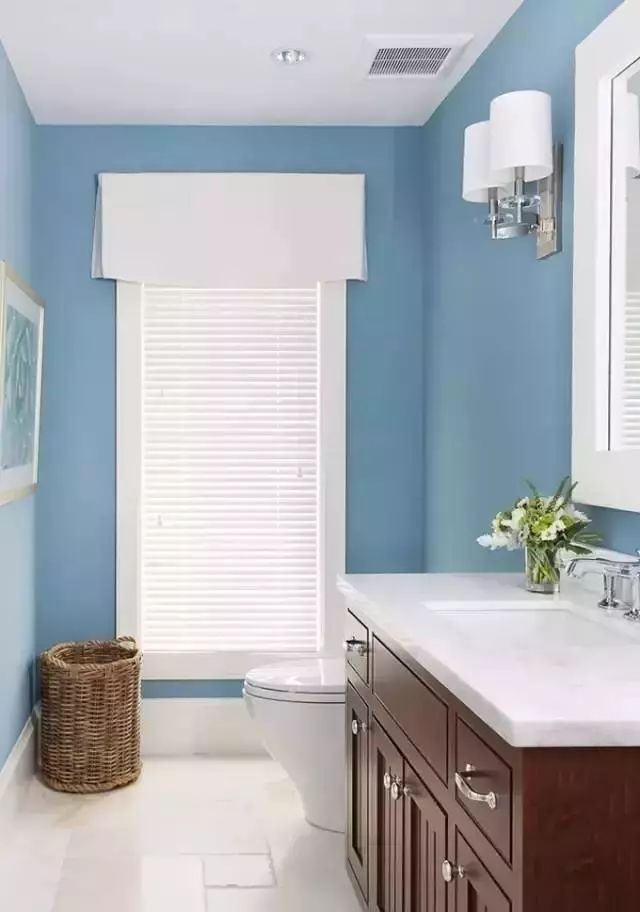
8, the surface of the coating film is not blistered, not flowing, flat and without a bump. To ensure that the joints between it and pipe fittings, sanitary ware footings, floor drains and drainage openings are tight, and the head is rounded and smooth without leakage.
9, the thickness and strength of the protective layer of cement mortar must meet the design requirements. In the operation, it is strictly prohibited to destroy the waterproof layer. According to the design requirements, you have to do a good job of ground flooding slope. Make sure that its drainage should be smooth and there should be no water backward slope phenomenon.
 WOWOW Faucets






您好!Please sign in