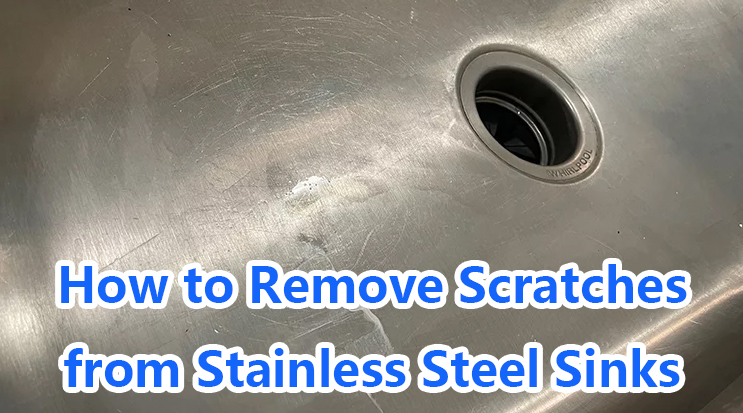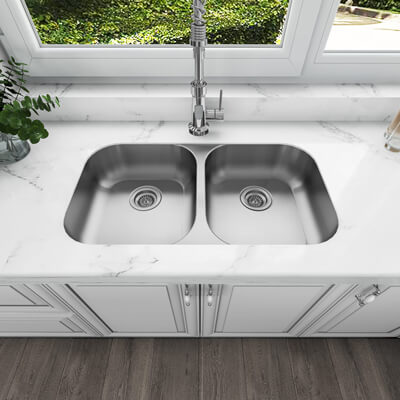
Stainless steel sinks are popular for their durability, sleek appearance, and resistance to rust and corrosion. However, they are not immune to scratches, which can detract from their aesthetic appeal. Fortunately, with the right tools and techniques, you can effectively remove or minimize these scratches, restoring your sink to its former glory. Here’s a comprehensive guide on how to remove scratches from stainless steel sinks.
Understanding the Nature of Stainless Steel
Before diving into scratch removal, it’s important to understand the nature of stainless steel. Stainless steel is an alloy made primarily of iron, carbon, and chromium, which gives it its resistance to rust and corrosion. The surface of stainless steel has a grain, which consists of tiny lines or ridges. When polishing or cleaning, it’s crucial to work along the grain to avoid further damage.
Assessing the Severity of the Scratches
Scratches on stainless steel can range from light surface scratches to deep gouges. The method you use will depend on the severity of the scratches:
- Light Scratches: These are shallow and barely noticeable unless inspected closely. They can often be removed with basic polishing.
- Moderate Scratches: These are more noticeable and may require a bit more effort and specialized products to remove.
- Deep Scratches: These can be felt with a fingertip and might need professional attention or more aggressive methods.
Tools and Materials Needed
To effectively remove scratches from a stainless steel sink, you’ll need the following tools and materials:
- Non-abrasive cleaner: For cleaning the sink before and after scratch removal.
- Microfiber cloths: For cleaning and polishing the sink.
- Stainless steel polish or compound: For polishing out light scratches.
- Sandpaper: Various grits (800, 1000, 1500, 2000) for sanding out deeper scratches.
- Soft-bristled brush: For cleaning hard-to-reach areas.
- Water: For rinsing the sink and wet sanding.
- Protective gloves: To protect your hands during the process.
How to Remove Scratches from Stainless Steel Sinks

1. Clean the Sink
Before attempting to remove scratches, thoroughly clean the sink to remove any debris, grease, or grime. Use a non-abrasive cleaner and a microfiber cloth to clean the surface. Rinse the sink with water and dry it with a clean cloth.
2. Identify the Grain
Examine the sink closely to identify the direction of the grain. This is crucial because you’ll need to work along the grain to avoid further damage to the stainless steel.
3. Remove Light Scratches
For light scratches, you can often remove them with a stainless steel polish or a non-abrasive compound. Apply a small amount of the polish to a microfiber cloth and rub it into the scratched area in the direction of the grain. Use gentle pressure and make sure to blend the scratch with the surrounding area. Rinse the sink and dry it with a clean cloth to check your progress.
4. Remove Moderate Scratches
If the light scratches remain or if you have moderate scratches, you might need to use a more abrasive approach. Wet a piece of 1000-grit sandpaper and gently sand the scratched area in the direction of the grain. Keep the sandpaper wet to avoid damaging the surface. After a few passes, switch to 1500-grit sandpaper and continue sanding until the scratch is less noticeable. Finish with 2000-grit sandpaper for a smoother finish. Rinse the sink and dry it with a clean cloth.
5. Remove Deep Scratches
Deep scratches require more effort and patience. Start with 800-grit sandpaper and sand the scratched area in the direction of the grain. Be careful not to apply too much pressure, as this can cause further damage. Gradually move to 1000-grit, 1500-grit, and finally 2000-grit sandpaper, sanding with each grit until the scratch is minimized. Rinse and dry the sink frequently to check your progress. Once the scratch is less noticeable, use a stainless steel polish to blend the area with the rest of the sink.
6. Final Cleaning and Polishing
After removing the scratches, clean the sink again with a non-abrasive cleaner to remove any residue from the sanding and polishing process. Use a microfiber cloth to dry the sink thoroughly. Finally, apply a stainless steel polish to the entire sink to give it a uniform shine and protect it from future scratches.
Preventing Future Scratches
To keep your stainless steel sink looking pristine, consider these tips to prevent future scratches:
- Use a sink grid or mat: Place a sink grid or mat at the bottom of your sink to protect it from scratches caused by pots, pans, and utensils.
- Avoid abrasive cleaners: Use non-abrasive cleaners and soft cloths or sponges to clean your sink.
- Rinse after use: Rinse your sink thoroughly after each use to remove food particles and debris that can cause scratches.
- Be mindful of heavy items: Avoid dropping heavy items into the sink, as this can cause deep scratches or dents.
Conclusion
Removing scratches from a stainless steel sink requires patience and the right tools, but it’s a manageable task for most homeowners. By following these steps, you can restore the beauty of your sink and keep it looking new for years to come. Remember to always work with the grain and use gentle pressure to avoid causing further damage. With regular care and maintenance, you can prevent future scratches and keep your stainless steel sink in top condition.
 WOWOW Faucets


您好!Please sign in